Your Own CDN Domain Integration in O2VEND
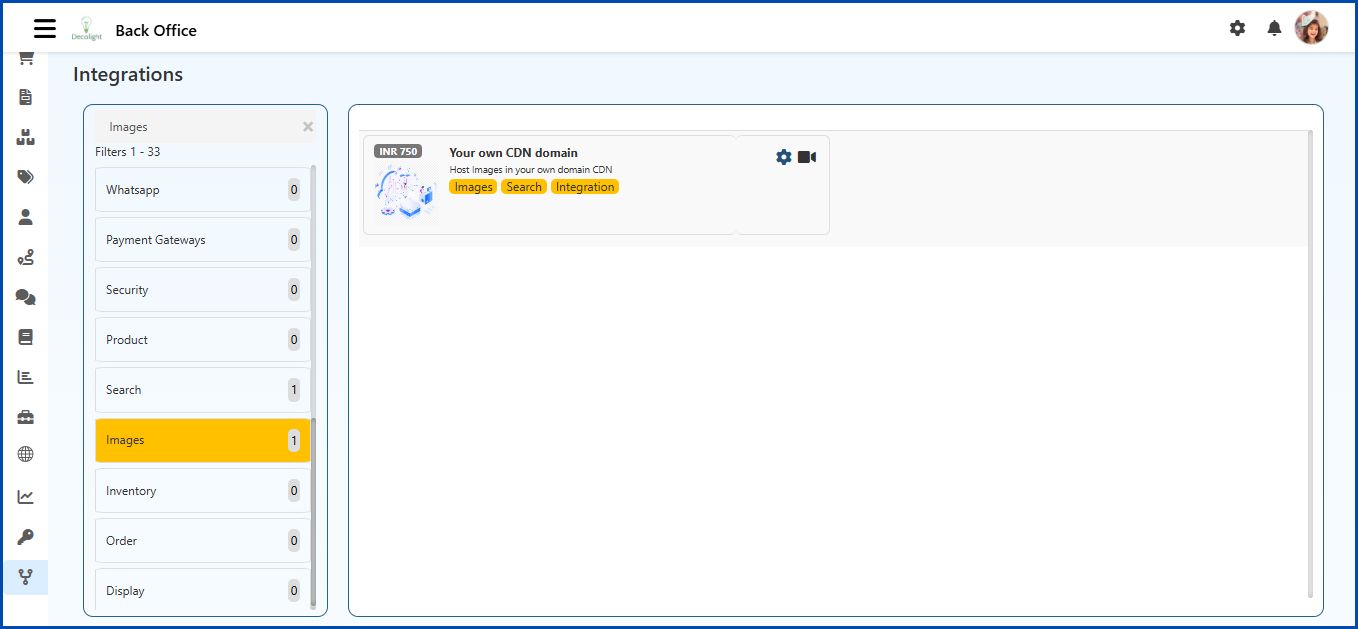
The Your Own CDN Domain Integration in O2VEND allows product images to be hosted on an external CDN (Content Delivery Network) or a custom domain instead of being stored on O2VEND servers.
Using a CDN improves website loading speed and provides full control over image storage and delivery.
Your Own CDN Domain – Navigation Path
Back Office → Integrations → Images → Your Own CDN Domain
Configuration Steps
Step 1: Prepare the CDN or External Hosting
Before configuration begins:
- Use a CDN service (e.g., Cloudflare, AWS CloudFront) or a hosting server.
- Ensure HTTPS is enabled for secure image delivery.
- Product images must be uploaded to the CDN or hosting server
Step 2: Copy Your CDN Base URL
This is the root path where product images are stored.
Examples:
https://cdn.store.com/products/
https://images.store.com/
Step 3: Configure the CDN URL in O2VEND
- Open Back Office → Integrations → Images → Your Own CDN Domain
- Select the gear icon to open External Hosting / Fetching Configuration
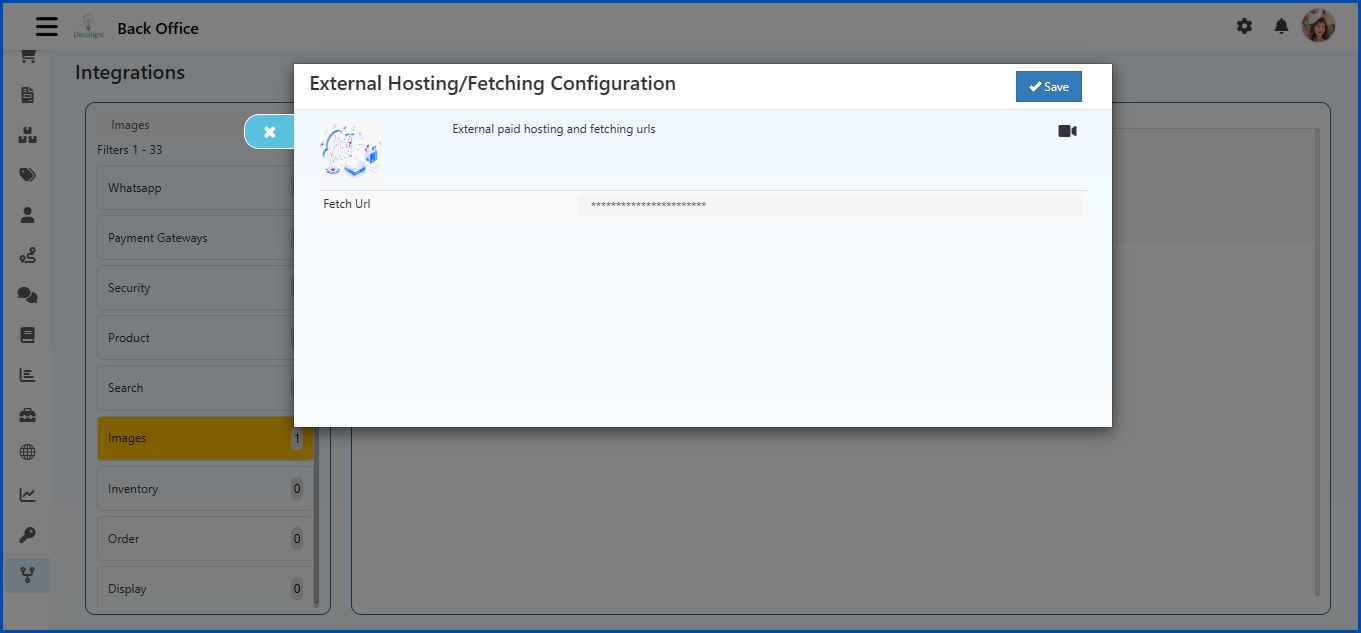
- In the Fetch URL field, Enter the CDN base URL
Example:
https://cdn.store.com/products/
Step 4: Save the Settings
- Select Save
- After saving, O2VEND will load product images directly from the configured CDN instead of O2VEND image storage
Important Notes
- The CDN URL must be publicly accessible
- HTTPS is recommended to prevent browser security warnings
- A folder/base URL must be entered – not a single image file link