E-Way Integration in O2VEND
E-Way integration in O2VEND configures branch details, GSTIN, authentication credentials, and IRP options to ensure accuracy. This guide shows how to configure E-Way settings for smooth operations.
Step-by-Step Guide: Configure E-Way in O2VEND
Step 1: Navigate to E-Way Configurations
- Log in to the O2VEND Admin Panel.
- Go to Intergration → GST → E-Way Configurations.
- Click + Create E-Way Config to add a new configuration or click the gear icon to edit an existing one.
Step 2: Fill in Configuration Details
In the E-Way Configuration form, enter the following:

Branch: Enter the business location or branch name.
UserName: Enter the username created on the government portal during registration.
Password: Enter the password created on the government portal for authentication.
AuthToken: Enter the authentication token issued by the government.
TokenExpiry: Enter the token expiry date in
dd-mm-yyyyformat.Environment:
- 0 – Sandbox (Testing)
- 1 – Production (Live)
GSTIN: Provide the companys GST Identification Number.
Sek: Enter the Secure Encryption Key provided by the portal.
Is Enabled: Select True to activate the Eway configuration.
IRP: Choose the correct IRP option. If one IRP server is down or busy, it is possible to switch to another IRP option (0, 1, or 2) for uninterrupted service.
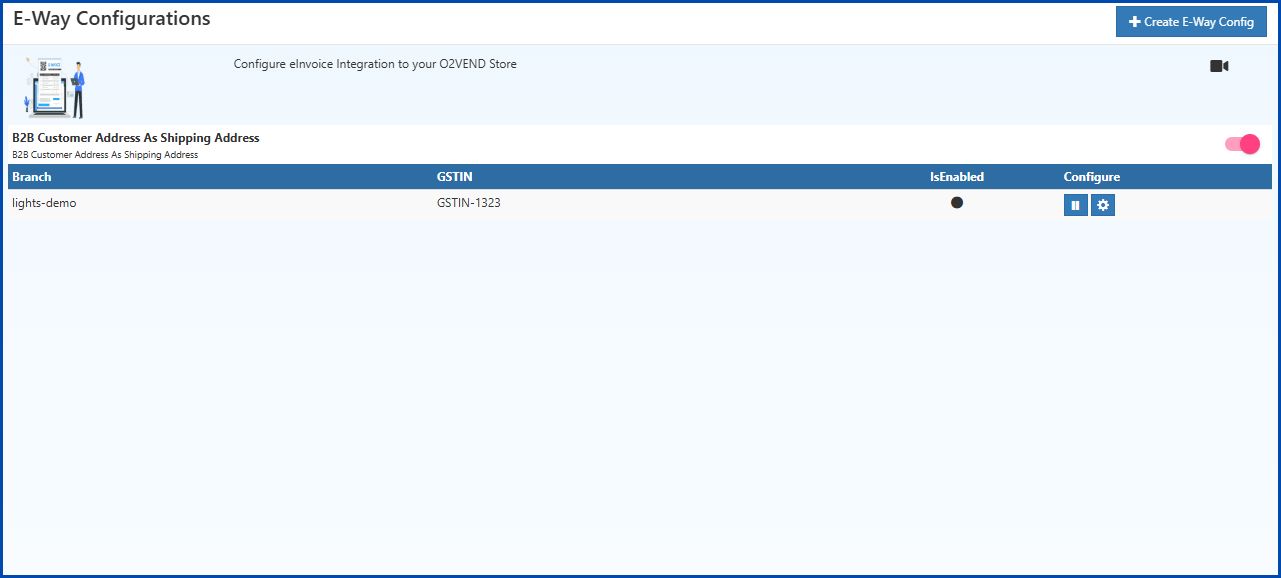
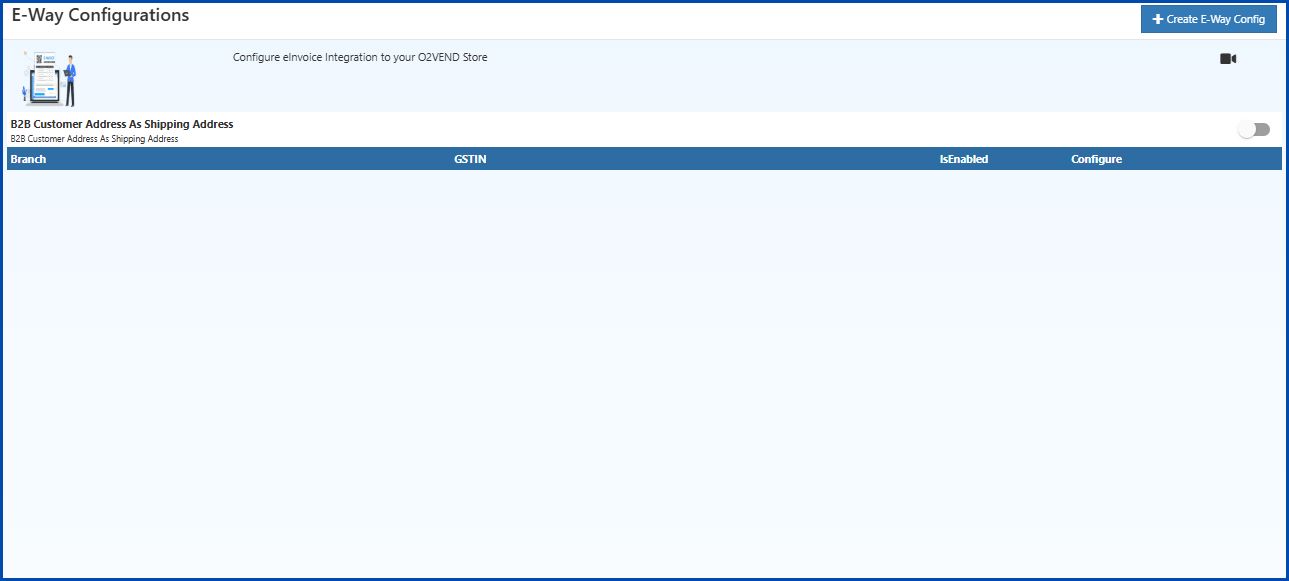
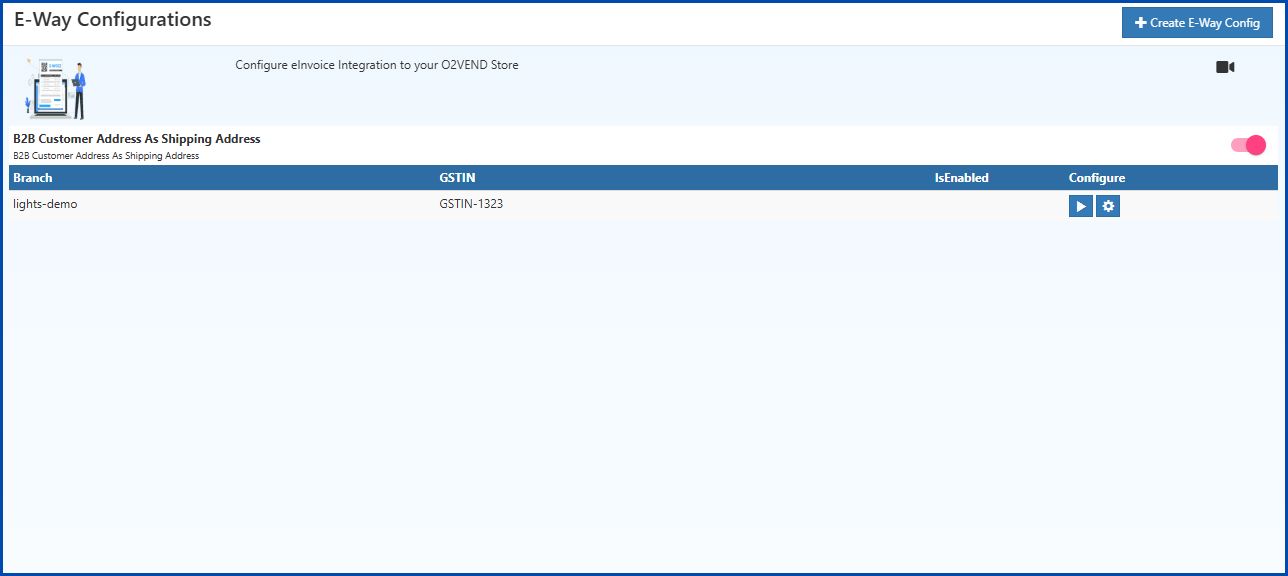
Step 3: Enable B2B Customer Address as Shipping Address
In the E-Way Configurations screen, turn ON the toggle for B2B Customer Address As Shipping Address.
This ensures that for B2B transactions, the customers address will automatically be used as the shipping address in the E-Way Bill.
Step 4: Save the Configuration
- After filling all fields, click Save (top-right corner).
- The configuration will now appear in the E-Way Configurations list.