How to Set Up and Manage Your O2VEND Store
This guide provides a comprehensive walkthrough for creating and managing stores in O2VEND, covering everything from entering basic store details to managing subscription plans, store status, and billing.
Create a New Store: Store Details Form
The Store Details Form is the first step in creating a new store. It collects all essential information required to configure the store, generate its URL, and create the administrator login.
Fields to Complete
- Store Name – The display name of the online store. Appears inside the Back Office and on customer-facing pages.
- Store User Name – Unique login ID for accessing the stores Back Office.
- Store Password – Secure password for the administrator account.
- Store Website – Preferred website address. By default, the system appends
.myo2vend.comif the default domain option is enabled. - Use .myo2vend.com Domain – Enable this option to use the system-generated default domain. When disabled, a custom domain can be added later.
- Select Industry – Business category, such as Fashion, Retail, Electronics, or Groceries. Helps optimize store settings for the selected industry.
- Select Subscription Plan – Choose a plan based on business requirements.
Navigation:
- NEXT – Proceeds to the next stage of store creation.

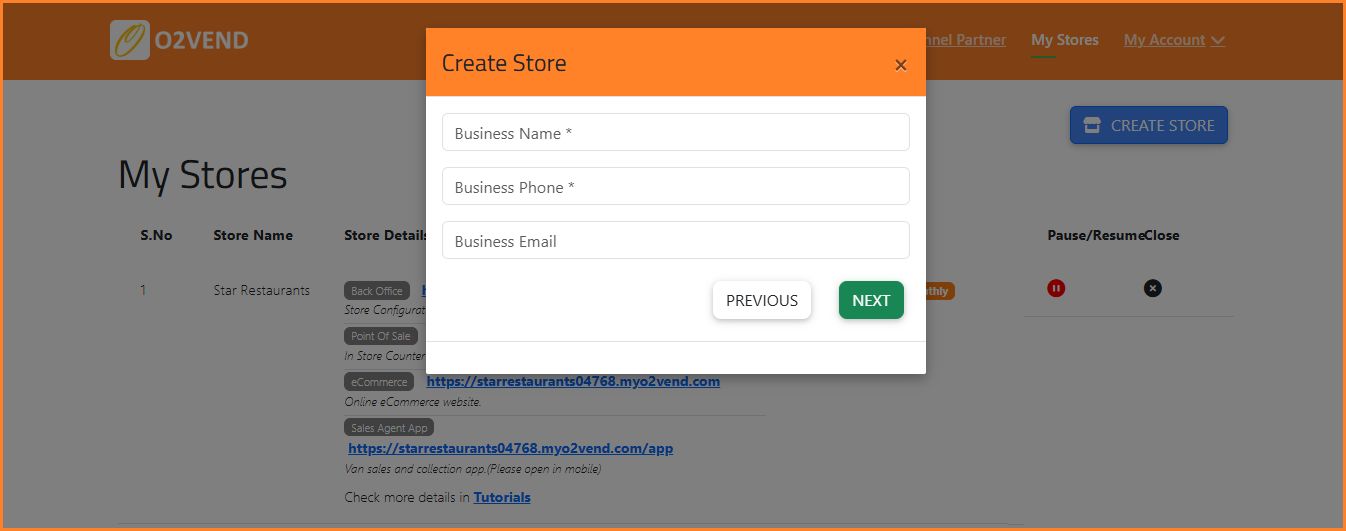
Business Information Form
The Business Information Form collects official business details required for communication, verification, and account records.
Fields to Complete
- Business Name – Official legal name of the business.
- Business Phone – Primary contact number for business communication.
- Business Email – Official email address for receiving system notifications, invoices, and account updates.
Navigation:
- PREVIOUS – Returns to the previous step.
- NEXT – Continues to the next stage.
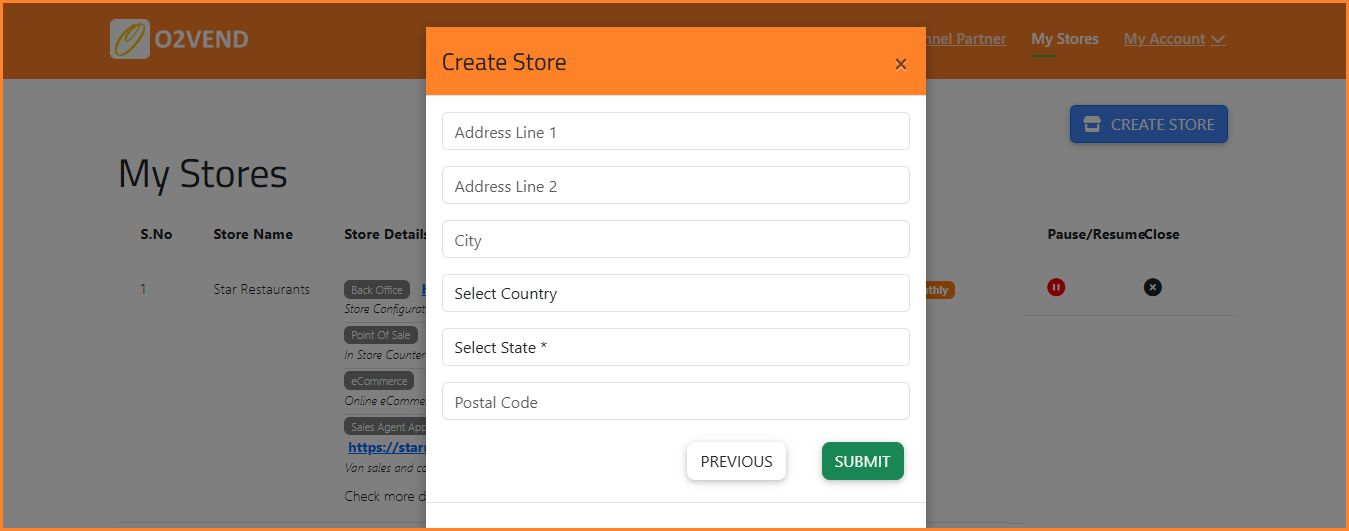
Address Configuration
This step ensures accurate location mapping for billing, taxation, and delivery rules.
Fields to Complete
- Address Line 1 – Primary store address used for official documentation and GST communication.
- Address Line 2 – Optional additional address details (e.g., building name, street, zone).
- City – City where the store is located. Used for reporting, delivery, and tax mapping.
- Select Country – Country selection aligns taxation rules and currency settings.
- Select State – Required for GST/VAT calculations and multi-branch financial reporting.
- Postal Code – ZIP or postal code for accurate logistics and invoicing.
Navigation:
- PREVIOUS – Returns to the previous step.
- SUBMIT – Confirms all address inputs and completes store creation.
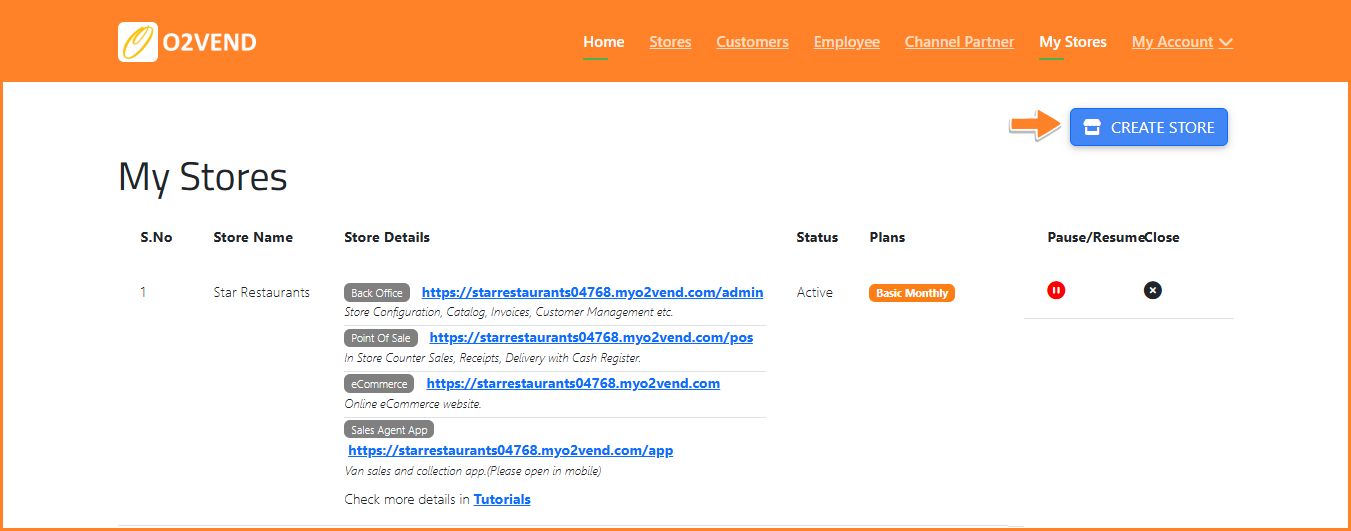
My Stores: Dashboard & Management
After store creation, all branches appear in the My Stores dashboard. This centralized page provides an overview of store URLs, operational status, and management controls.
Store Details Overview
Each store entry displays:
- Store Name
- Back Office URL – Access inventory, settings, and sales management.
- POS URL – Process counter transactions and receipts.
- eCommerce Site URL – Customer-facing online storefront.
- Sales Agent App URL – Mobile platform for field sales agents.
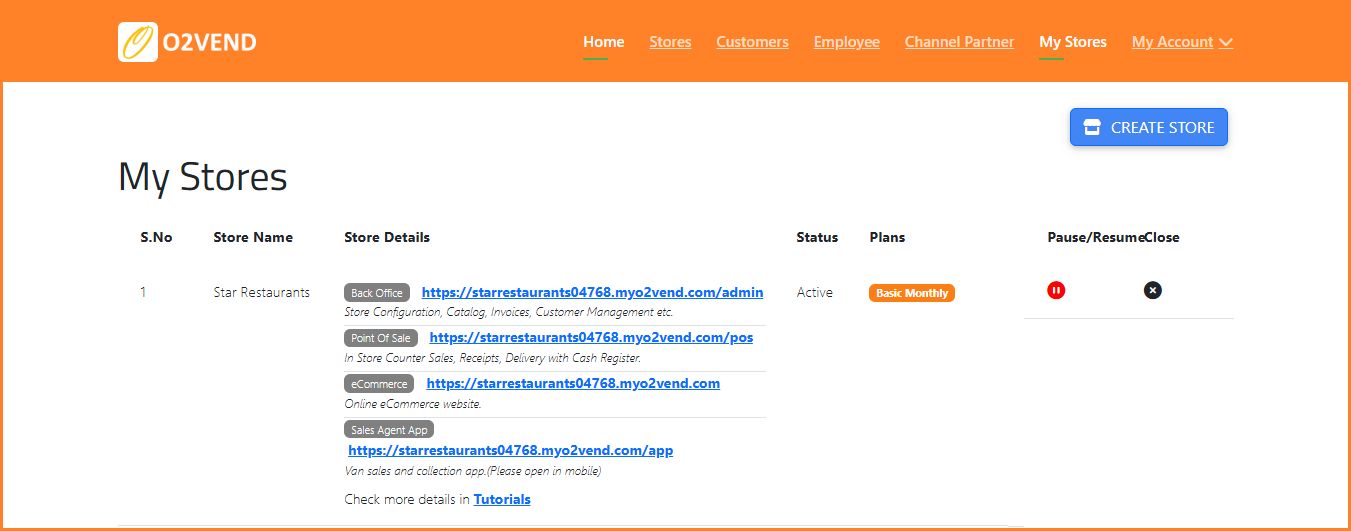
Store Status & Subscription Plans
- Status – Indicates whether the store is Active, Paused, or Closed.
- Plans – Displays the subscription type (e.g., Premium Monthly) and available features.
Pause / Resume Store
- Pause – Temporarily disables store operations without deleting data. Useful for renovations, temporary closures, or seasonal breaks.
- Resume – Restores full store functionality immediately.
- Close – Permanently removes the store from the system and a confirmation prompt appears to prevent accidental deletion.
Manage Billing
The Manage Billing section provides full control over subscriptions and payments.
- Upgrade or Downgrade Plans – Adjust the subscription to match business requirements. Upgrading unlocks advanced features and integrations, while downgrading reduces cost by limiting access to basic functionalities.
- Add or Update Payment Methods – Securely manage payment options to ensure uninterrupted service. Supported methods include credit/debit cards and online banking.
- View Billing History – Access a detailed record of all payments, plan adjustments, and applied discounts. Useful for accounting and auditing purposes.
- Check Renewal Dates – Monitor subscription renewal dates to avoid service interruptions.
Launch and Manage Your O2VEND Store Easily
Follow our complete O2VEND store setup guide. Configure your store, manage subscriptions, track inventory, and handle billing efficiently all from one dashboard.
Summary
The O2VEND store setup and management tools enable:
- Creation of multiple branches with accurate tax and location mapping
- Access to POS, Back Office, eCommerce, and Sales Agent modules
- Efficient management of subscription plans and billing
Start Your O2VEND Store in Minutes
Create your store, set up locations, manage subscriptions, and launch your online business all from a single dashboard.