• Tutorials

    Show / Hide Table of Contents
    • Getting Started
    • O2VEND Store
      • My Stores
        • Create Store
      • My Account
        • My Profile
        • Manage Billing
        • Support Desk
    • Store Setup
      • Initial Store Setup
    • Dashboard
      • Dashboard
    • Orders
      • Quotation
      • Sales Order
      • Purchase Order
      • ActiveCarts
    • Vouchers
      • Sales
        • Manage Sales
        • Create Sales Invoice
        • Cancel Sales Invoice
        • How to create GDN(Goods Delivered Note)
        • How to add lot for products in GDN
        • How to view sales details
      • Purchase
        • Manage purchase
        • Create Purchase Invoice
        • Cancel purchase Invoice
        • How to create GRN(Goods Received Note)
        • How to add lot for products in GRN
        • How to print a barcode label in purchase
        • How to view purchase details
      • Credit Notes
      • Debit Notes
      • Receipt
      • Payment
      • Journal
      • Contra
    • Inventory
      • Manage Stocks
      • Stock History
      • Print Barcode Label
      • Delivery Challan
      • Receipt Challan
      • Goods Entries
      • Stock Transfer
      • Stock Take
    • Catalog
      • Set Up Products
        • General
        • Variations
        • Attributes
        • Stock Levels
        • Pricing
        • SEO
      • Product Categories
      • Product Brand
      • Product Option
      • Attributes
      • Attributes Group
      • Product Templates
      • Price List
      • Bulk Product Price update
      • Bulk Product Updates
    • Communication
      • Communication
    • Accounting Master
      • Master
    • Reports
      • Order Reports
        • Sales Order Summary
        • Purchase Order Summary
        • Sales Order Shipment Report
        • Sales Order Pending Item Report
        • Purchase Order Pending Item Report
        • Sales Order Pending Item Summary
      • Inventory Reports
        • Stock Summary
        • Location Summary
        • Stock/Location Summary
        • Reordering Stock Summary
        • Stock Valuation Summary
      • Products
        • Sold Product Categories
        • Category Product Return
        • Product Sale Summary
        • Product Seasonal Demand
      • Pos Reports
        • Cash Register Summary
        • Current Cash Registers
      • Sales/Purchase Reports
        • Sales Report
        • Purchase Report
        • Sales Summary
        • Purchase Summary
        • Receipt Report
        • Sales Items Summary
        • Daily Settlement Report
      • Account Reports
        • Ledger
        • Cash Book
        • Day Book
        • Sales Books
        • Purchase Books
      • Miscellaneous Reports
        • Output Detailed Tax Report
        • Output Tax Report Summary
        • OutStanding Report
        • Gross Profit Report
        • GSTR-1 Report
      • Financial Reports
        • Balance Sheet
        • Profit And Loss Report
        • Trial Balance
    • Settings
      • Settings
      • Store Settings
        • Business Details
        • Tax Classes
        • Tax Rates
        • Operating Countries
        • Operating State or Province
        • Return Rule
      • Users
        • User Role Management
          • Set Up Employee Roles
          • Ecommerce
          • Point Of Sale
          • Back Office
          • Sales App
        • customers
        • Supplier
        • vendors
        • Customer Groups
        • User Date Setup
        • Credit Rules
      • Loyalty and Promotions
        • Reward Points
        • Coupons
        • Benefits
        • Affiliate
      • Point Of Sale
        • Quick Add Buttons
        • Print Settings
        • Payment Methods
        • Delivery Settings
      • Web Store
        • Themes
        • Theme Data
        • Shipping Methods
        • Payment Methods
        • Currency
        • Reviews
        • Review Replies
        • Zones
      • Web Store Content
        • Site Pages
        • Site Menus
          • Main Menu
          • Site Menus
        • Home Page Components
        • Page Header
        • Blog Categories
        • Blog
        • News Letter Subscription
      • Stock Settings
        • Unit Of Measure
        • Location
        • Delivery Zones
        • Unit Of Measure Conversions
        • Stock Levels
        • Branches
        • Sub Location
        • Print Barcode Label Settings
      • Account
        • Financial Year
        • Voucher Numbering
    • Features
      • General
      • POS
      • Webstore
      • Integration
    • Profile
      • My Profile
    • Manage Physical Stores
      • Login
      • Sales Bill
        • Manage sales orders
        • How to add products to a customer's shopping cart
        • How to apply discounts/coupons
        • How to search products in Sales Screen
        • How to add products quickly to the Cart
        • How to add serial and lot number
        • How to Print sales bills in POS
      • Receive Payments (Receipts)
      • Delivery
      • Invoice Receipts
      • Manage Cash Register
      • Reprint
      • Dashboard
      • POS Offline
      • Stock Transfer
    • O2VEND App
      • Install O2VEND App
      • Home
      • Customers
      • Orders
      • Products
      • Receipts
      • Stock Movement
    • Webhooks
      • Webhook
      • Examples of JSON format data via webhook
      • Testing webhook

    Product Brands

    Brands can be a powerful selling point for products as they can help to establish trust and credibility with customers. Brands are often associated with quality, reliability and reputation.

    In O2VEND eCommerce, brand names can be created and managed in the back-end system, typically by selecting the option to create a new brand. Once a brand is created, it can be associated with products by selecting the brand name when creating or editing a product.

    Using brand names can also help with product organization and searchability. It makes it easier for customers to find products from a specific brand, and for store managers to manage products from a specific brand.

    It's important to note that the brands should be relevant to the products and align with the overall business strategy. Additionally, it's important to make sure that the brand names are spelled correctly and that they are consistent throughout the website.

    Having brand names associated with products can increase customer trust and loyalty, as well as improve the discoverability and organization of the products on the website. It can also help to increase sales and customer satisfaction.

    General

    Create Brand

    Create brand name follow the below steps,
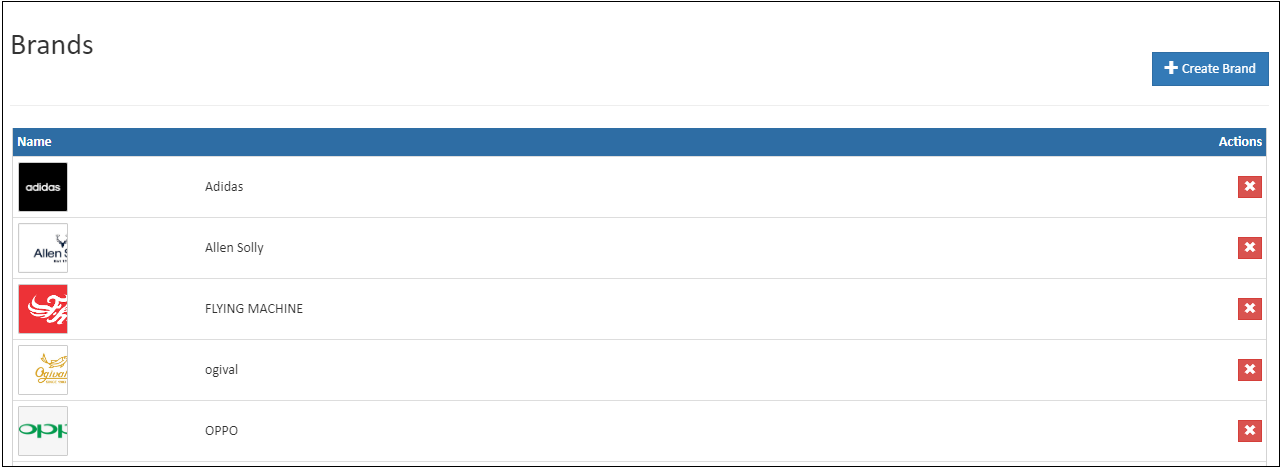
    How to Create Brand

    1. Open Back Office.
    2. Go to Catalog Menu.
    3. Click and open Brand section.
    4. Click Create Brand Button in the top right corner.
    5. Add image of the brand and enter the brand name.
    6. Press Save button.

    Name

    Name of the Brand.

    Tip

    Use Manufacturer name if don't have their Brand Name

    Brand Image

    Upload brand image here. It will be useful for brand widgets.

    Banner Image

    Uploading a banner image for a brand can be a great way to make the brand page more visually appealing and engaging for customers. A banner image is typically a large image that is placed at the top of the brand page, and it can be used to showcase the brand, its products, or its message.

    In O2VEND eCommerce, the banner image for a brand can be uploaded in the back-end system, typically by selecting the brand and then choosing the option to upload a banner image. The image file can be selected from the local computer and then uploaded to the website.

    It's important to note that the banner image should be high-quality, visually appealing and relevant to the brand. Additionally, it's important to make sure that the image is properly optimized for web and mobile, as this can improve the page load time and user experience.

    The banner image can also be used to feature special promotions, sales or other relevant information for the brand or its products, and it can be an effective way to catch the customer's attention and increase the chances of conversion.

    Show Banner

    Banner will be display only the show banner is "TRUE". If it is false, it will not display.

    SEO

    In this section, add the URL slug name, meta title, meta keyword and meta description of the brands.

    Brand SEO URL Slug:

    Slug is part of a URL that comes at URL ends it representing a particular page of a website. By default, the URL slug name took from the brand name. Admin and SEO managers can change the slug name. Ensure that the slug URL field does not require the addition of specific numbers, special characters and unnecessary words.

    How to create SEO URL Slug

    1. open the SEO tab.
    2. Enter the Brand SEO URL slug name.

    An example is the URL "https://o2vend.com/brandname-keyword/" where the slug is "brandname-keyword".

    HTML Content

    Enter details in HTML content. The administrator can write content about their brand on the brand detail page. Use pictures, different fonts, colors to create the layout of the page.

    Modify Brand

    Update the brand details.

    How to modify Brand

    1. Open Back Office.
    2. Go to Catalog Menu.
    3. Click and open Brand section.
    4. Already existing brands will be listed.
    5. Click the Brand Name against the brand to be edited.
    6. Update all the needed information.
    7. Press Save to update the changes.
    • Improve this Doc
    Back to top Generated by DocFX