Sales Agent App - Customer details
In this section, learn how to create orders, invoices and receipts for customers from the app. Administrators can see all the customer details; but as sales agents they can only see their allocated customer details.
Create Order
Lets see how a order can be created by the agent for a customer.
Create Order on behalf of Customer
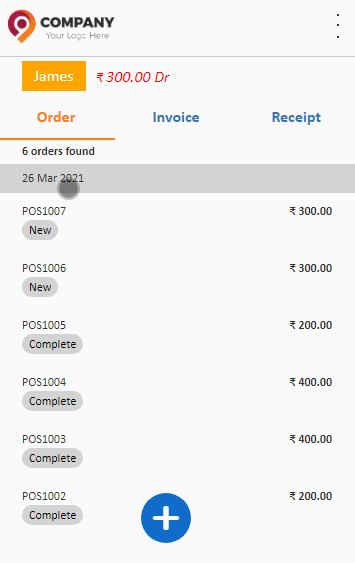
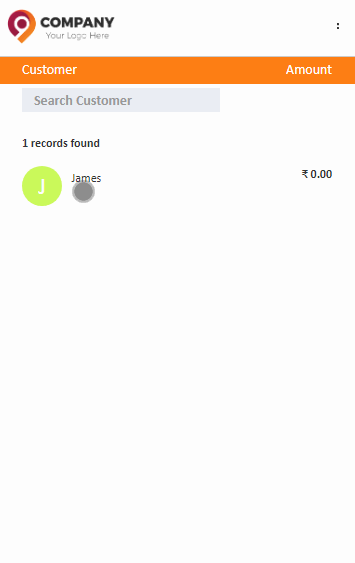
- Select the customer name
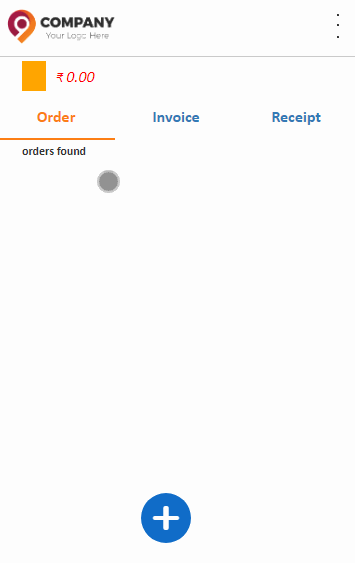
- Open Order tab
- Click the Plus button.
- Click Add button.
- Select the product items names to the orders.
- After selecting the items, click Add Item.
- Now, the products is adding to the orders screen.
- Then, click Create Order button. Orders now created for this customer.
Create Invoice for a customer
To create the invoices follow below steps,
How to Create Invoice
- Select the customer name
- Open the Invoice tab
- Click the Plus button.
- Click Add button.
- Select the product items names to the invoices.
- After selecting the items, click Add Item.
- Now the products are added into the screen.
- Then, click Create Invoice button. Invoices now created for this customer.
Create Receipts
To create receipts follow below steps,
Create receipts to collect the amount from the customer
- Select the customer name
- Open Receipt tab
- Click the Plus button.
- Click Add button.
- Select the invoice number to create receipts.
- After selecting the invoice number click Add Item.
- The invoice details are added into the receipts screen.
- Then, click Create Receipt button. Receipts now created to this invoices.