How to create lot for products in purchase
Product Configuration
Enable lot for products, go to Catalog -> Products -> Open the products -> enable Lots and click Save.
The next step is a lot management
Lot Management
Users can allocate a lot by creating a purchase order/purchase invoice for a lot-enabled product. The user will now have the option to enter the lot number, manufacturer, and expiration date for the products.
How to add lot in Goods Received Note
- Click Goods Received button.
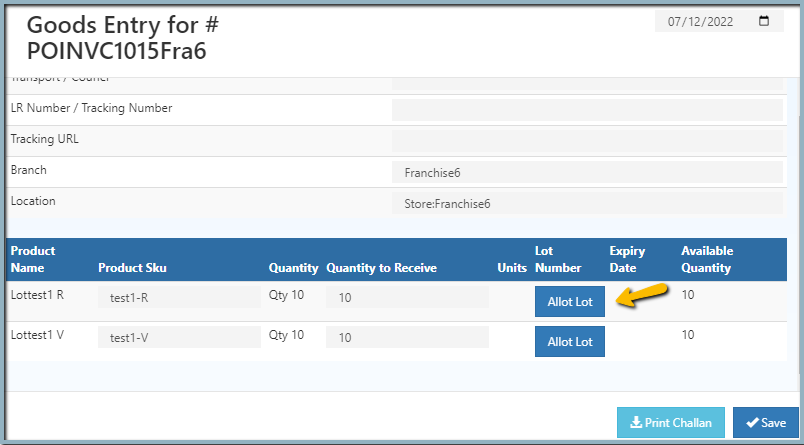
- The product name, UOM, SKU and quantity of the product will be shown.
- Enter Tracking Number of the product.
- select Location for more details on how to create location.
- Enter quantity to Receive.
- Quantity to Receive cannot be larger than the order quantity and receive quantity.
- Click Allot Lot button.

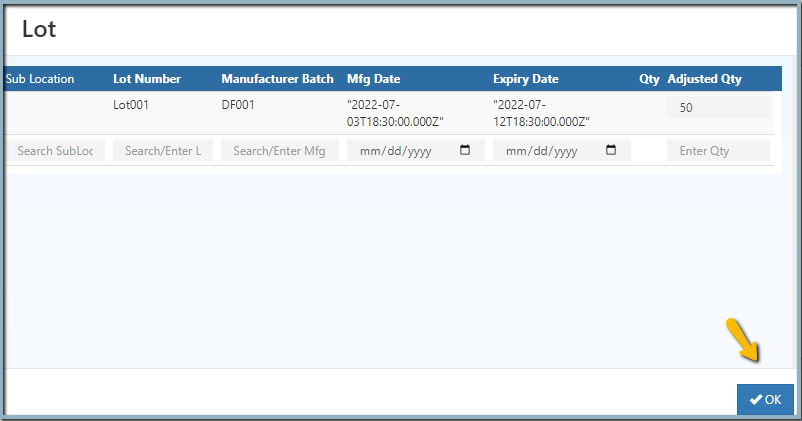
- Enter the lot number, manufacturer batch, mfg date, expiration date, and adjust the quantity for this product, or pick an existing lot number. After pressing the enter key, the information is stored.

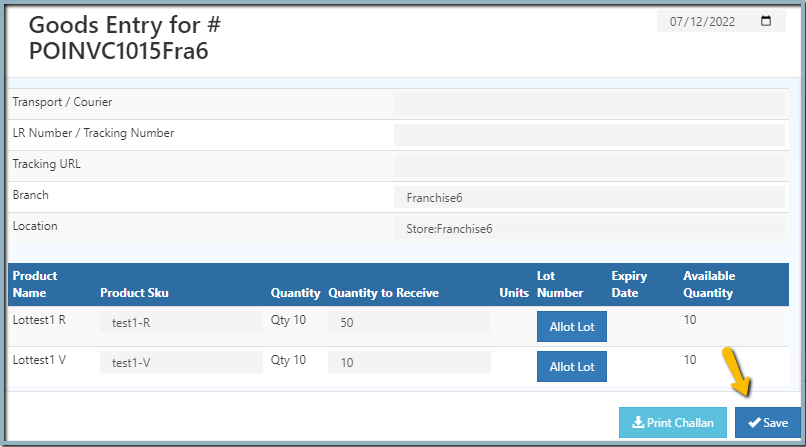
- Click Save button. A lot is allocated, and the stock is added to the designated warehouse.

- Click Print Challan button to print goods received items.
Tip
After made changes in add goods received method should change the status of the order in a History box. This will help to manage orders.
Stock History
Check lot updated details in stock history and view lot section. Adjust the lot in the Stock quantity section.