e-Invoice Integration in O2VEND
e-invoice integration in O2VEND enhances the overall invoicing process, making it more efficient, secure, and compliant with modern business practices and regulatory requirements.
Easily integrate e-Invoice by following these straightforward steps:
STEP-1: Click on the link provided for Registration
STEP-2: After registration is complete then go through this link for login

STEP-3: Select the Login option and input your username and password.
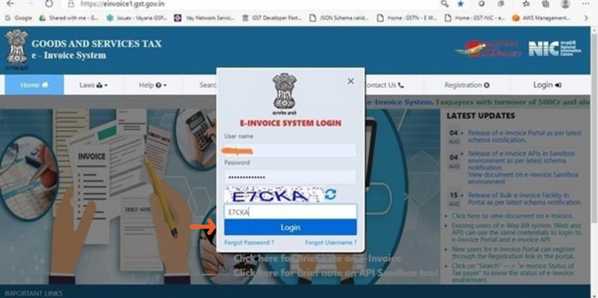
STEP-4: Upon successful login, you'll encounter a screen with a similar appearance.
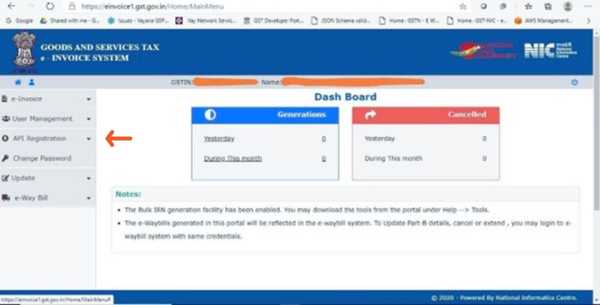
STEP-5: Click on API Registration.
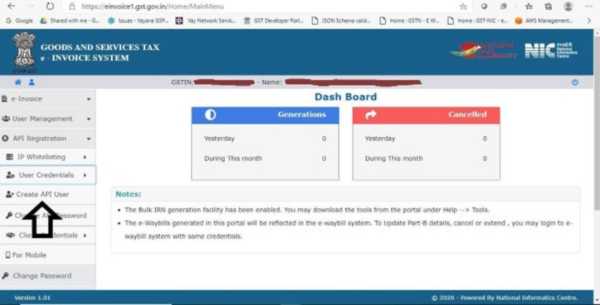
STEP-6: Click on User Credentials.
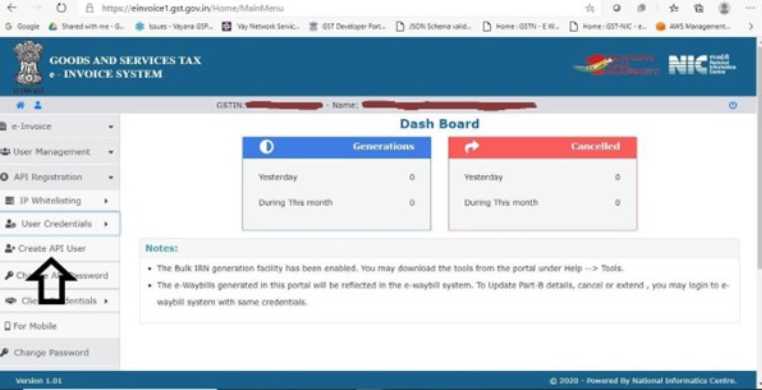
STEP-7: Click on Create API User.
STEP-8: It will initiate a One-Time Password (OTP) to the mobile number you have registered.
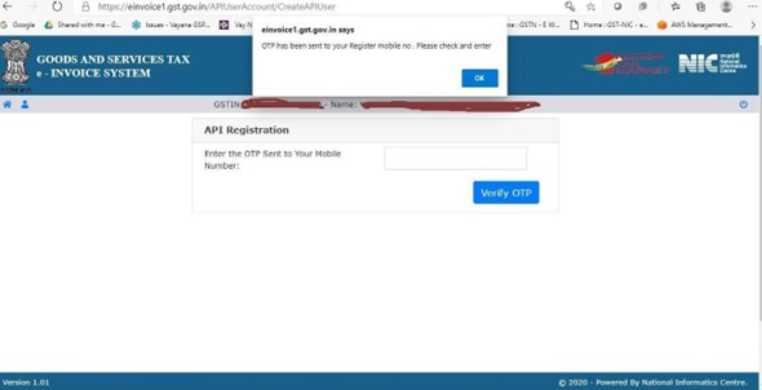
STEP-9: Kindly input the OTP and select Verify OTP.
STEP-10: Choose the option Through GSP afterward.
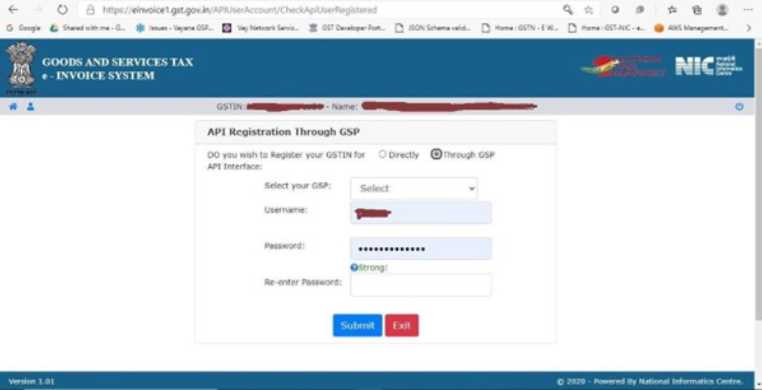
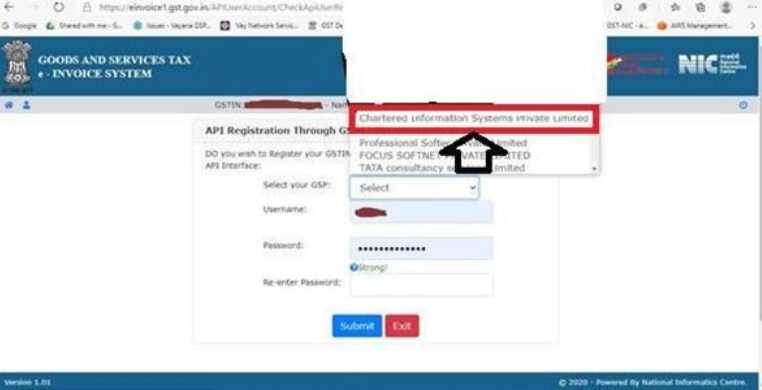
STEP-11: Choose Chartered Information Systems Private Limited as your GSP. This is the GSP employed by O2VEND (Jeyan Technologies Private Limited) for establishing a connection.
STEP-12: Create API username and password, then proceed to submit the information. Ensure that you update this username in O2VEND.
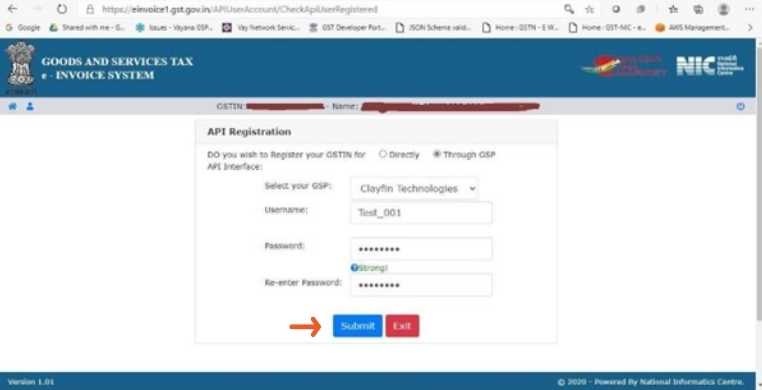
STEP-13: Kindly verify the acknowledgment from the E-Invoice System.

Steps to integrate e-Invoice with O2VEND
STEP-1: Go to the O2VEND Back Office.
STEP-2: Choose the Integration page.
STEP-3: Locate the E-invoice configuration icon.
STEP-4: Open the configuration icon by clicking on it.
STEP-5: Initiate the E-invoice Configuration process by clicking the Create E-invoice Configuration button.
STEP-6: Provide the necessary details, such as your GSTIN number, registered email address, and registered mobile number.
STEP-7: Upon entering all required information, save the configuration by clicking the Save button.
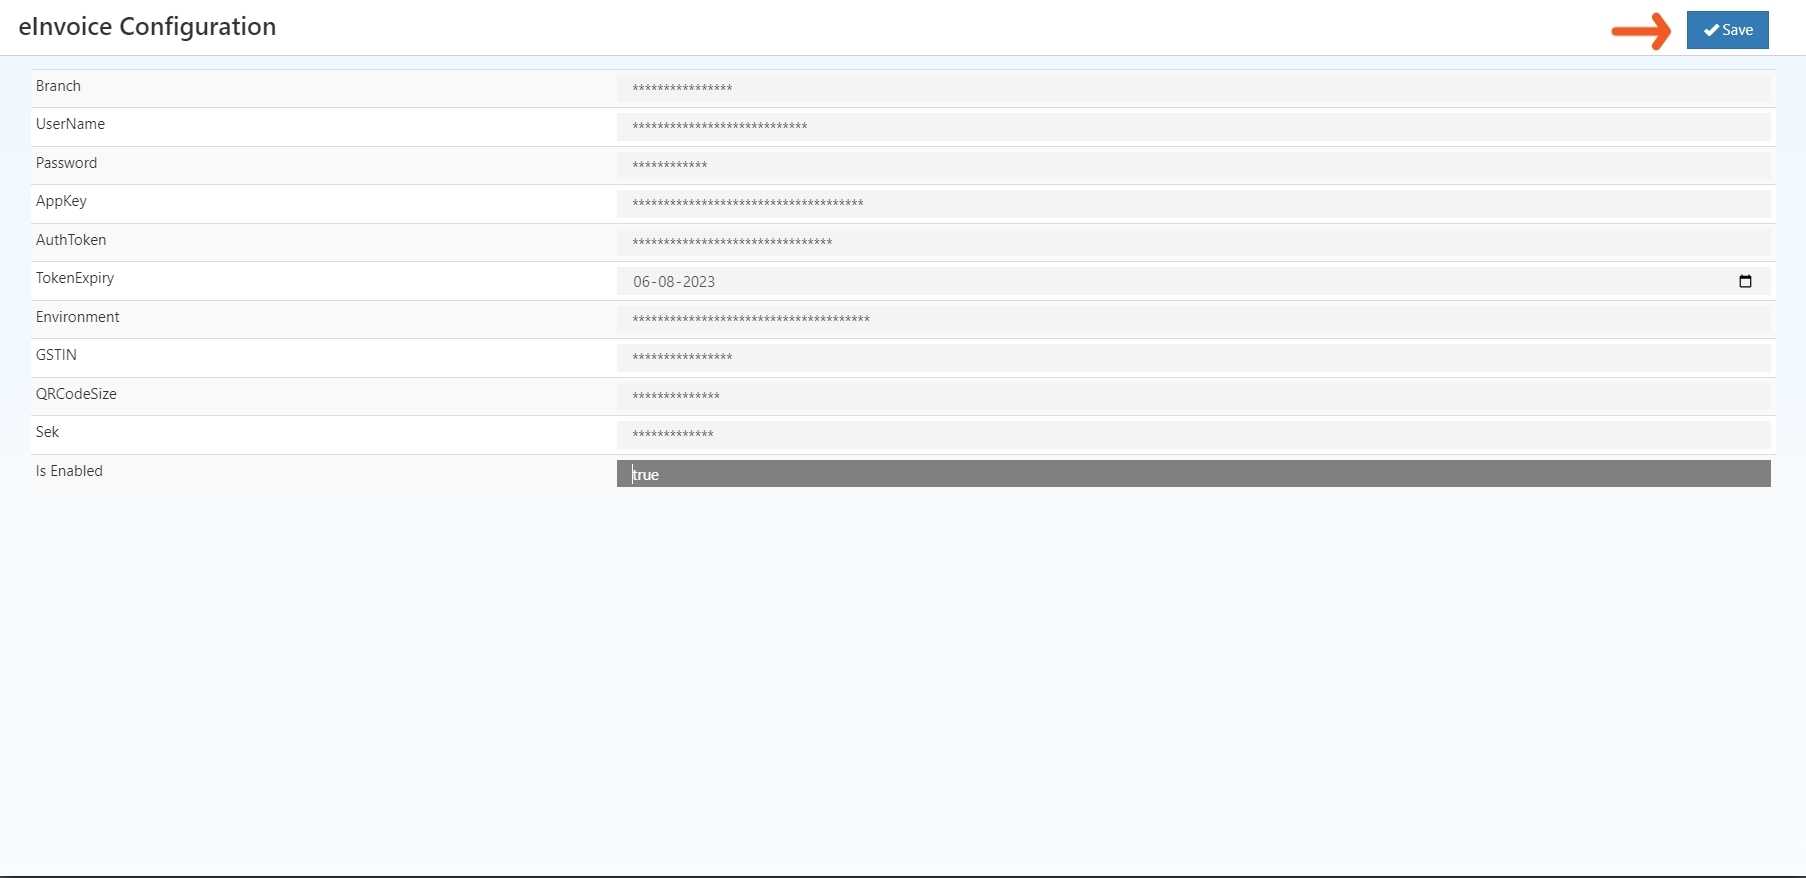
STEP-8: Then e-Invoice Integration has been Enabled.