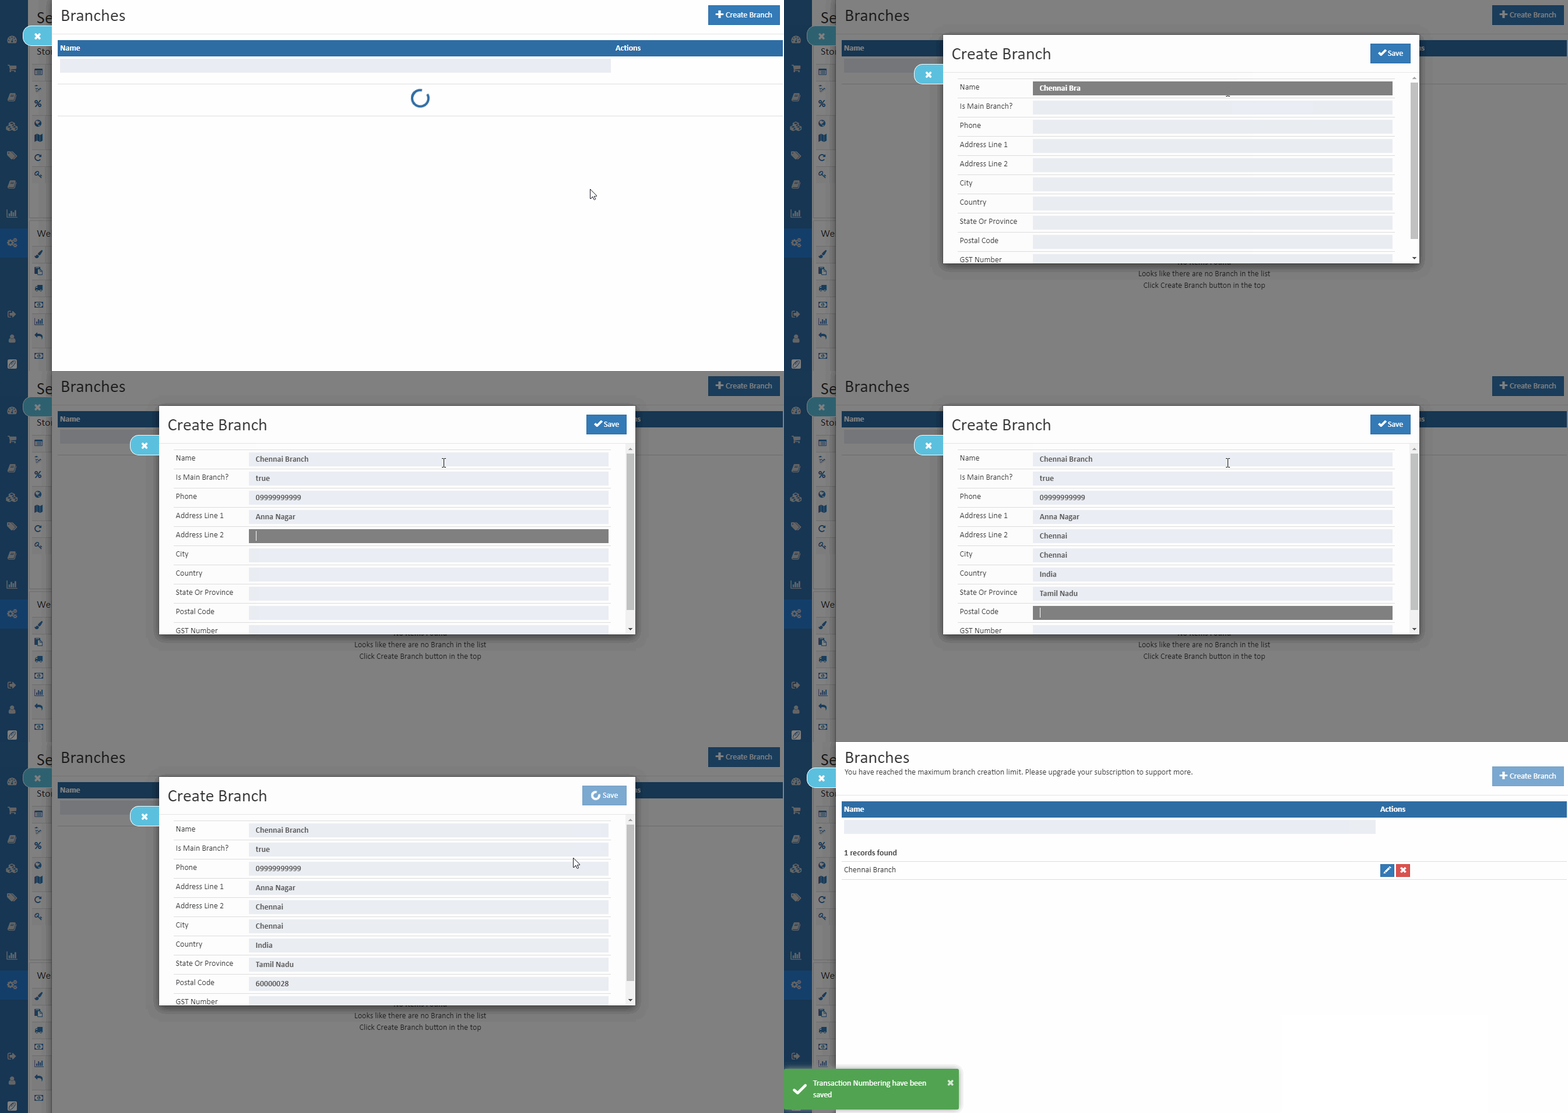
Branches
One of the useful features of O2VEND is the ability to create multiple branches for the online store. This section will go through the steps of setting up multiple branches in O2VEND.
Create Branch
In O2VEND, as a Store admin can allow to create a new branches for their business.
How to Create Branch
- Open Back Office.
- Go to Settings or (ALT+S) Menu. Next see the Stock Settings section.
- Click Branches in the section.
- Click Create Branch in the top right corner of the page.
- Enter all the needed details of this section.
- Press the Save button.

Name
Enter the name of the branch.
Is Main Branch?
Select Is Main Branch is True or False.
Phone
Enter the Phone or mobile number to contact the branch.
Address and City
Enter Address Line 1, Address Line 2, and City of the branch.
Country
Select Country where the branch belongs to. See Creating Country for details on creating countries.
Stare or Province
Select State or Province where the branch belongs to. See Creating States or Provinces for more details on creating states or provinces.
Postal code
Enter the Postal code of the branch.
GST Number
Enter the branch Gst Number.
Tip
In the Point of Sale application selecting these branches, the address details are printed using the branch address.