Purchase Features in O2VEND
Purchase-related features help improve supplier workflow and product communication from the web store.
These settings support purchase tracking, customer contact, and conversion-focused checkout display.
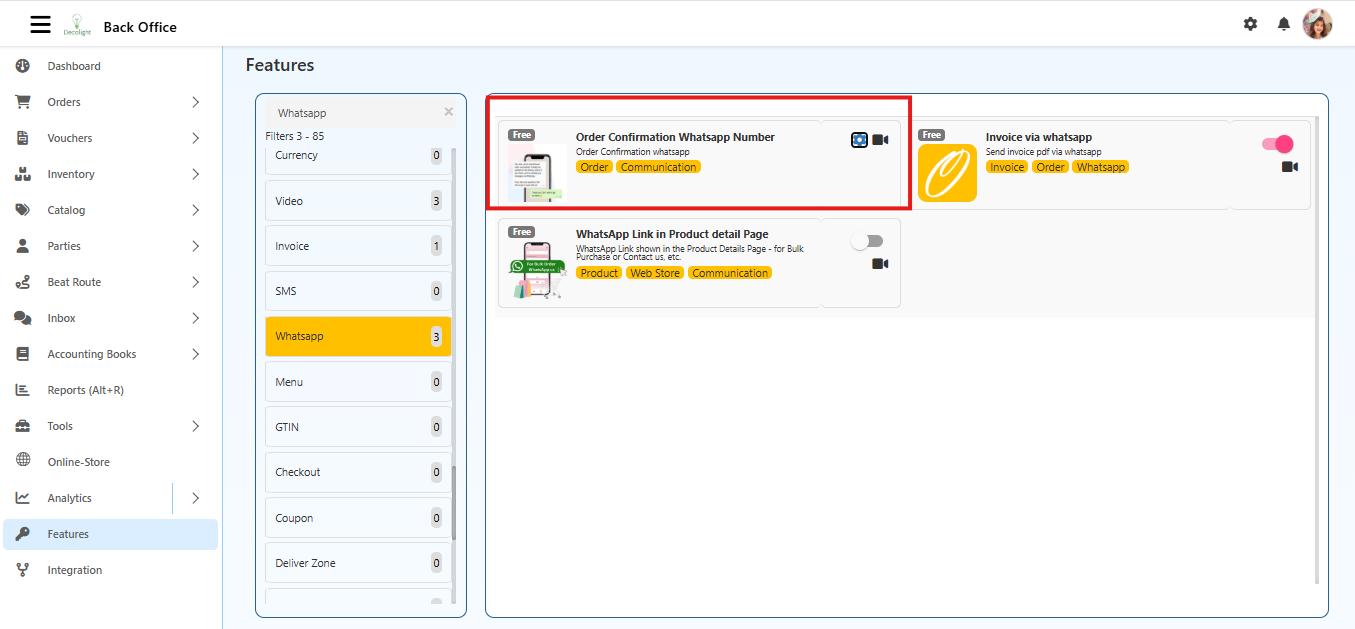
Location in Back Office
Navigation Path:
Back Office → Features → Purchase
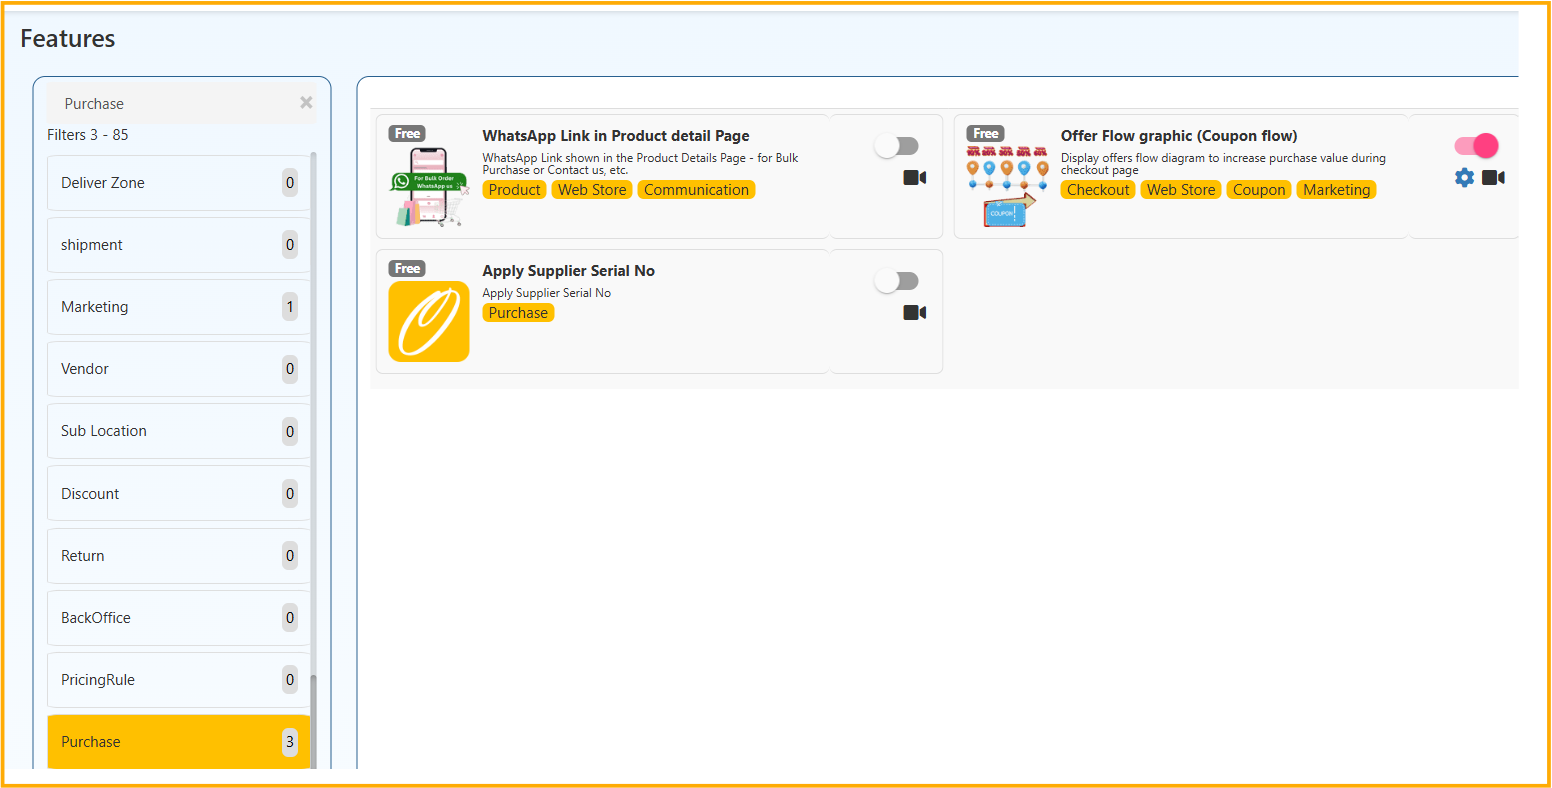
WhatsApp Link in Product detail Page
Shows a WhatsApp link in product detail page for bulk purchase or direct customer inquiry.

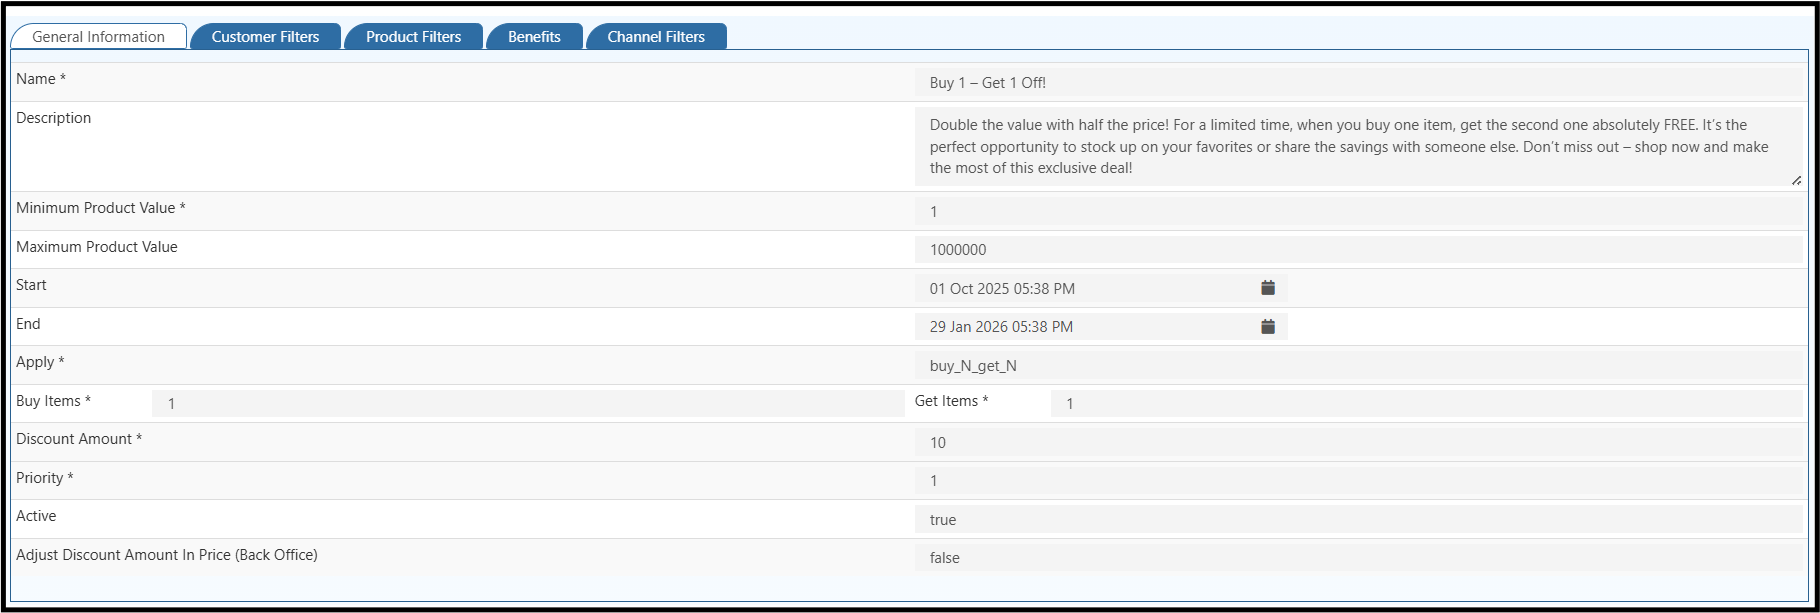
Offer Flow graphic (Coupon flow)
Displays checkout offer progress to encourage customers to add more items and unlock offers.
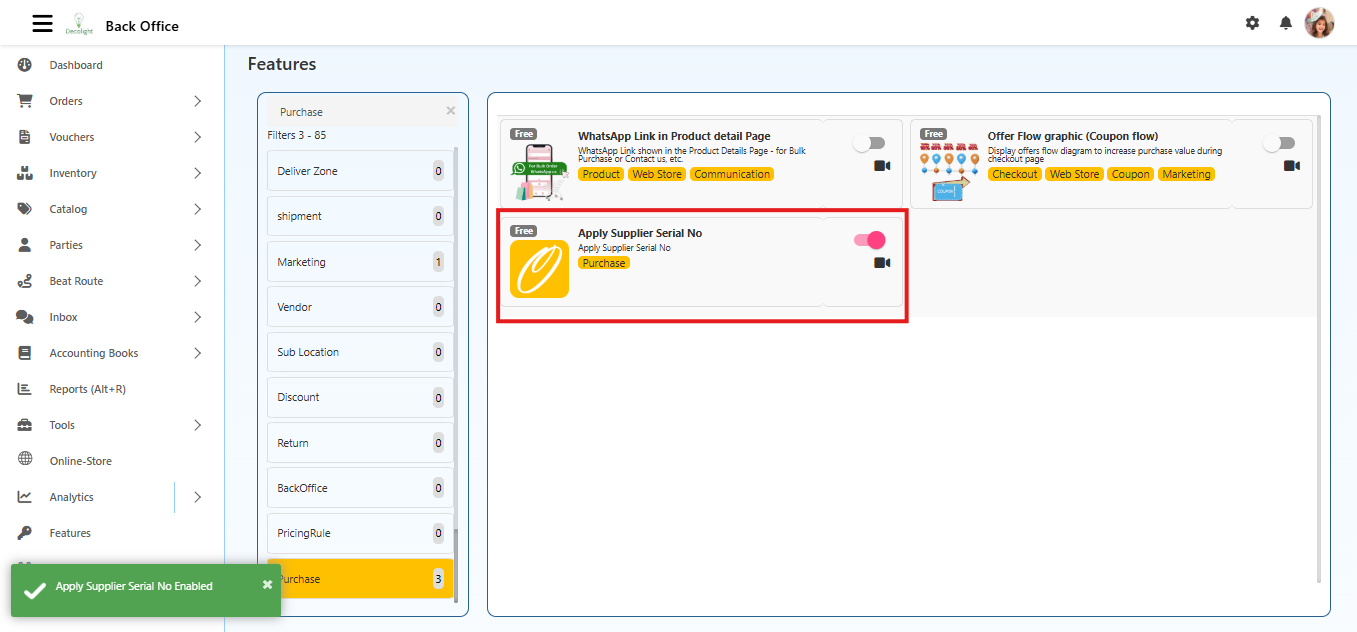
Apply Supplier Serial No
Enables applying supplier serial number in purchase process for better supplier-side tracking.