Setup Menus
The menu is an important part of an ecommerce website, as it allows customers to navigate through the site and find the products they are looking for. It is essential that the menu is easy to use, well-organized, and intuitive.
The O2VEND platform provides options to set up and customize the menu of your ecommerce store. You can create and organize different sections in the menu such as categories, products, collections and more. It allows you to create a hierarchical structure of the menu, which makes it easy for customers to find products and navigate through the store.
You can customize the menu by adding or removing items, changing the order of items, and organizing items into subcategories. This allows you to create a menu that is tailored to your business and provides the best user experience for your customers.
It also provide an option to set the menu items as sub-menu, that help to navigate to different sections, this also allows you to group the related items under the same section.
The O2VEND platform also allows you to customize the appearance of the menu, you can change the color, font, and layout of the menu to match the overall look and feel of your store. This can help to create a cohesive and professional-looking website.
Tip
The Pages are comes under the Menus.
How to create Menu
- Open Back Office.
- Go to Web Store Personalize menu and Click Site Contents.
- Click and open Menus. The available menus will shown.
- Click Create Menu in the top right corner.
- Enter the menu name and press Save button.
- It will move to the Edit Menu Page.
- Select menu items from the Add Menu Items Section and Click Add Button.
- Added Menu items will show in the Items.
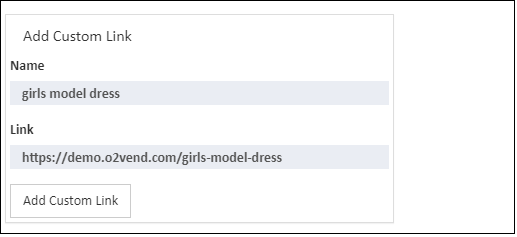
- In case of external link to be added use Add Custom Link section and press Add Custom Link button.
- Press Save button.


Tip
Drag and Drop the Menu items to change the menu item order of display.
Tip
To Filter the menu items Name and Type box is used.
Name
Name of the selected menu is present in the Name field.
Items
The selected menu items are present in the Items. To remove any menu item click delete icon.
Warning
The Menu only show in the footer page when IsPublished is selected.
Main menu
How to design a ecommerce header using the Smart menu
- Open Back Office.
- Go to Web Store Personalize menu and Click Site Contents.
- Click and open Main Menus.