Shopify Integration in O2VEND
Shopify integration helps sync orders, inventory, and status updates between Shopify and O2VEND through API token and webhooks.
Location in Back Office
Navigation Path:
Back Office → Integration → Product → Shopify
Before enabling the Shopify integration, please follow the steps below.
Step 1: Create Shopify Custom App
- Login to Shopify Admin.
- Go to Apps → Apps and sales channel settings → Develop apps.
- Create a custom app and open Admin API integration.
- Select required scopes, install app, and copy Admin API Access Token.
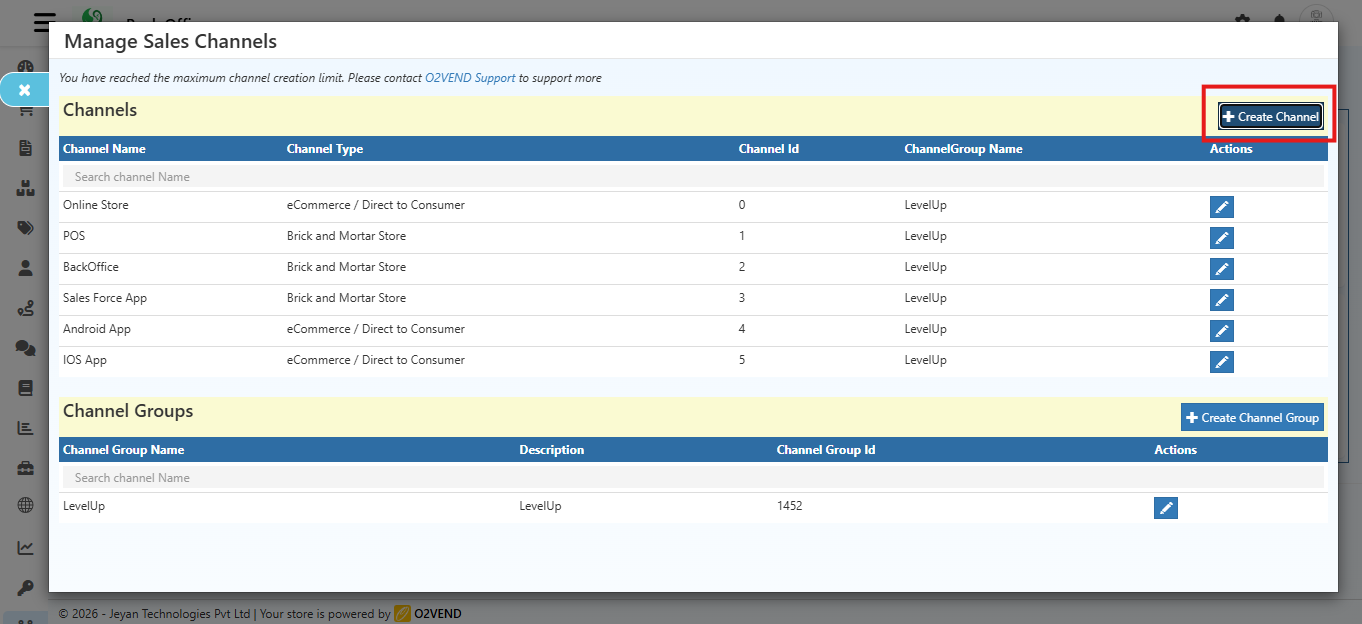
Step 2: Create Shopify Sales Channel in O2VEND
Click Create Channel in Shopify sales channel screen. Go to Back Office -> Settings -> Business Settings -> Sales Channel
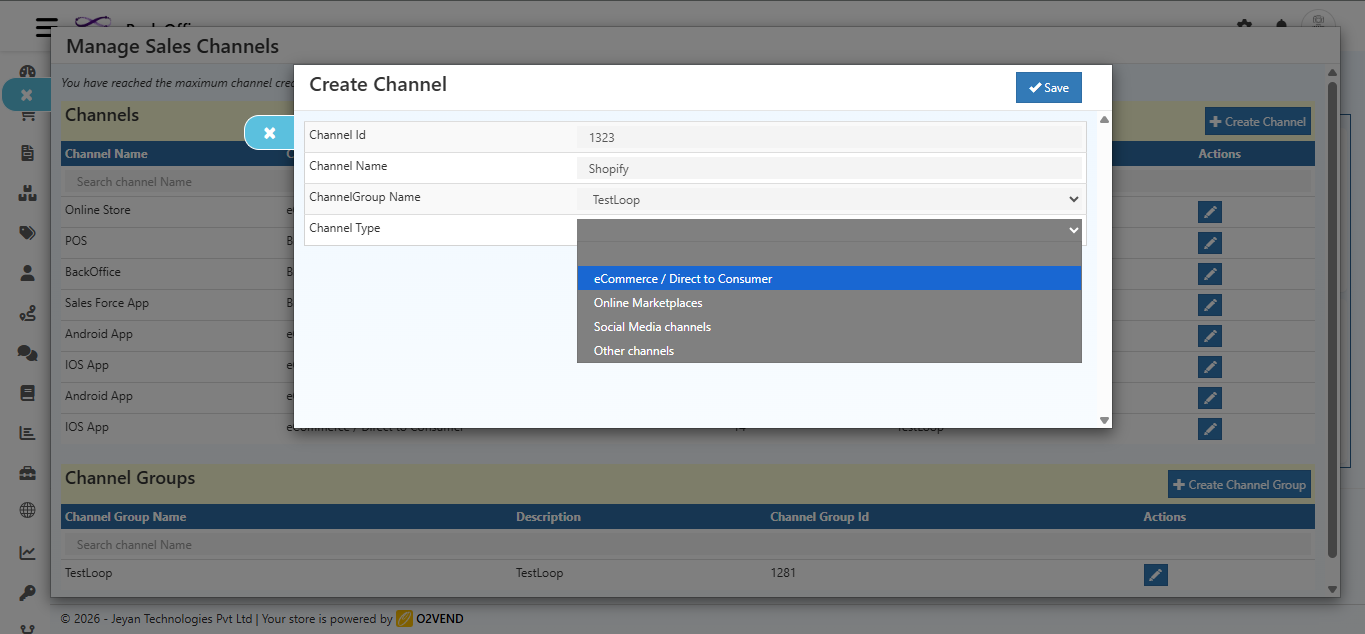
Select:
- Channel Type =
eCommerce / Direct to Consumer - Provider =
Shopify
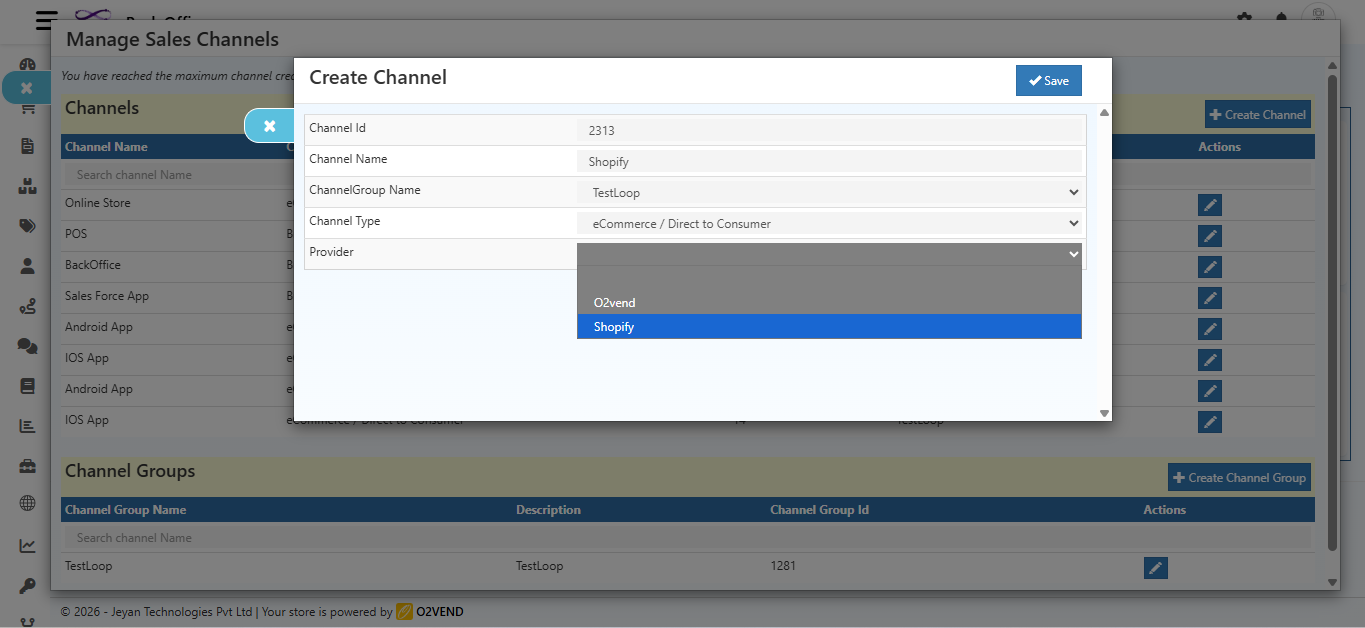
After selecting provider, below fields appear:
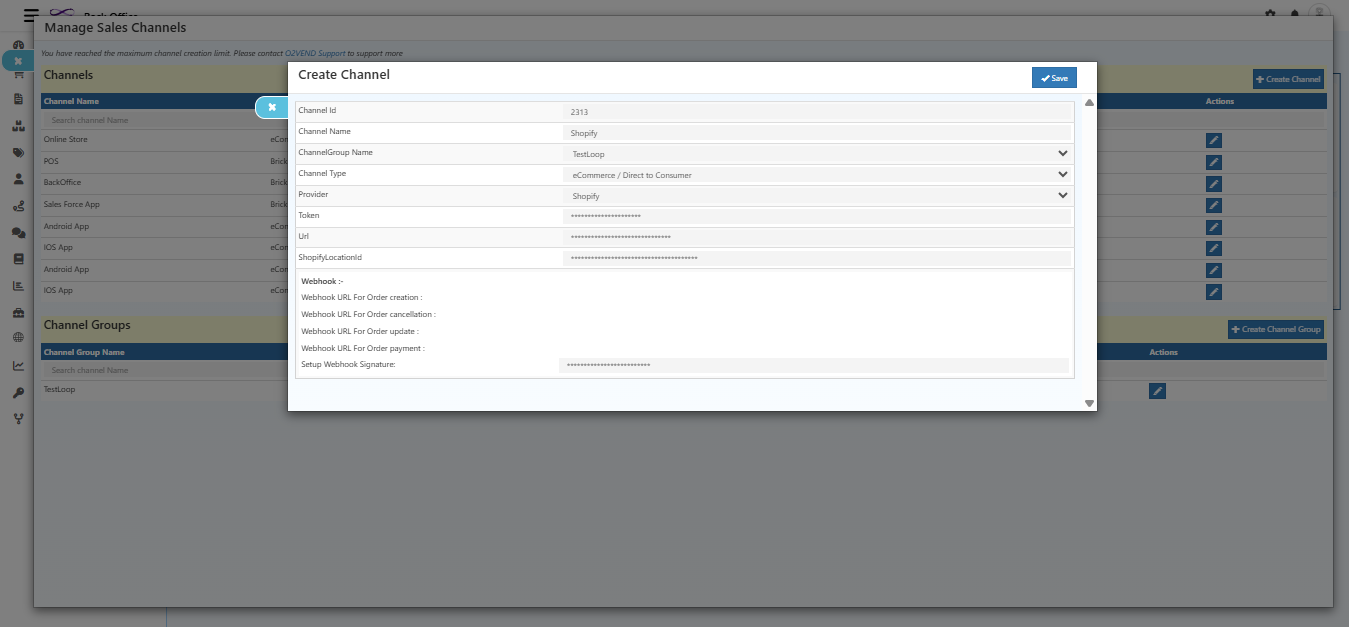
Field Explanation
- Channel Id: Unique ID for this Shopify sales channel.
- Channel Name: Friendly name for this Shopify integration.
- ChannelGroup Name: Grouping label for channel management.
- Channel Type: Must be
eCommerce / Direct to Consumer. - Provider: Must be
Shopify. - Token: Shopify Admin API Access Token from custom app.
- URL: Shopify store URL (example:
https://store.myshopify.com). - ShopifyLocationId: Shopify location used for inventory sync.
- Webhook URL - Order Creation: Receives new order events.
- Webhook URL - Order Cancellation: Receives cancelled order events.
- Webhook URL - Order Update: Receives order update/status events.
- Webhook URL - Order Payment: Receives payment events.
- Setup Webhook Signature: Secret/hash for webhook validation.
Save the sales channel after entering values.
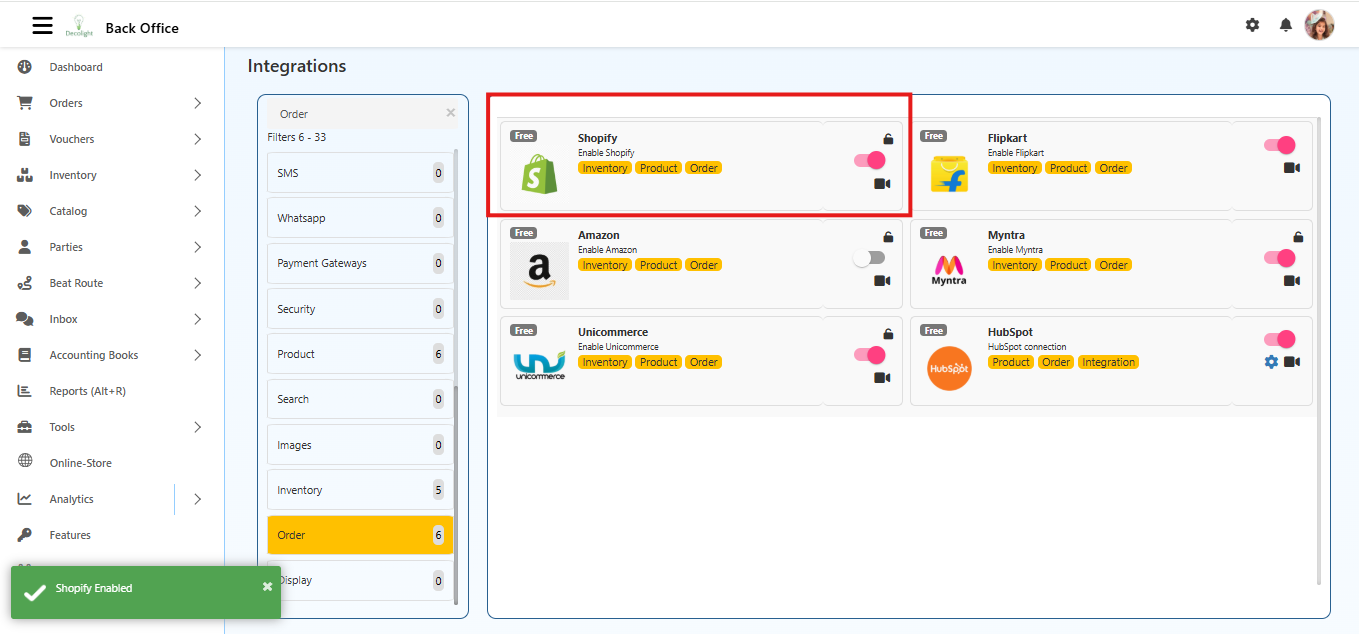
Step 3: Enable Shopify Integration
Go to Back Office → Integrations → Order and enable Shopify toggle.
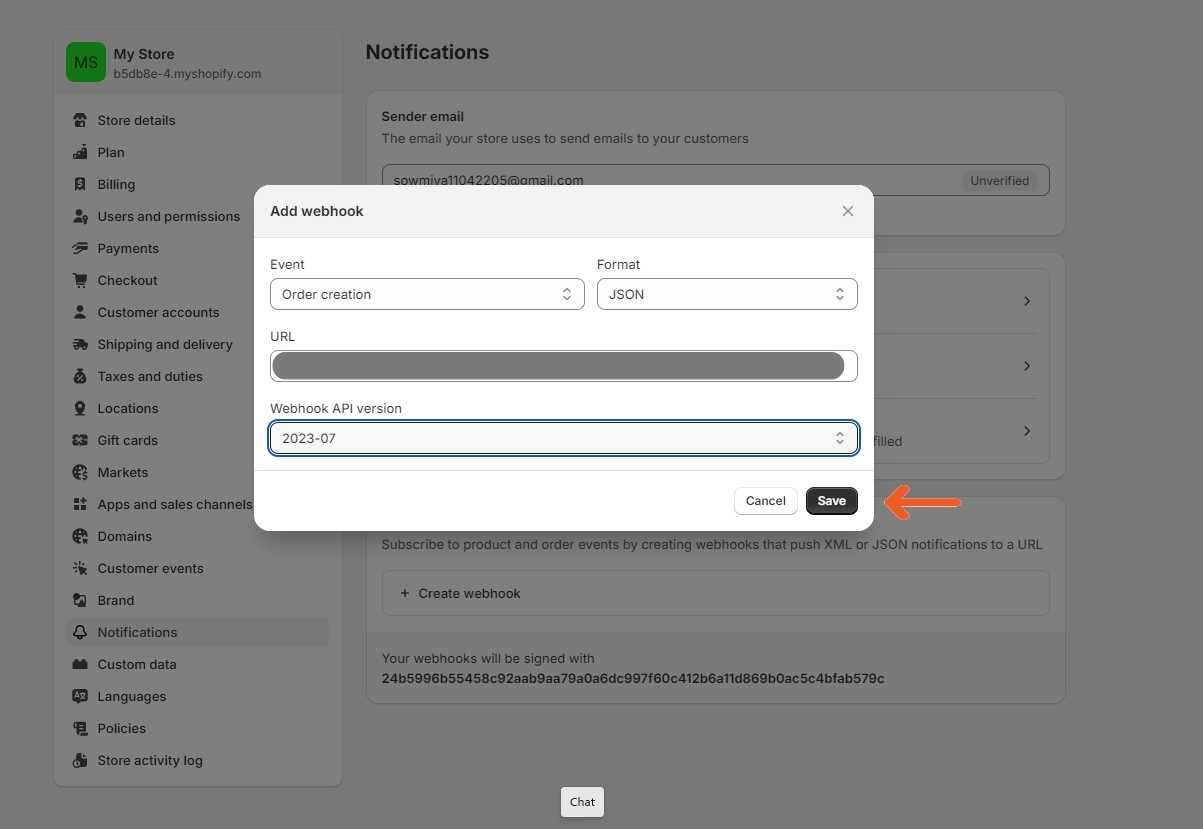
Step 4: Configure Shopify Webhook
In Shopify:
- Go to Settings → Notifications → Create webhook.
- Event = Order creation, Format = JSON.
- Paste O2VEND Webhook URL for Order Creation.
- API version = 2023-07 (or current supported version).
- Save webhook.
Step 5: Add Webhook Signature in O2VEND
- Copy webhook signature/secret from Shopify.
- Paste in Setup Webhook Signature field in O2VEND.
- Save.

Final Outcome
After token + webhook setup:
- New Shopify orders sync automatically to O2VEND
- Order updates and cancellations sync properly
- Inventory and processing workflows become centralized in O2VEND