Main Menu Management
The Site Menus page helps you create and manage the menus shown in your online store. You can use it to maintain the main menu, footer menus, submenus, and custom links so customers can navigate your store easily.
This guide includes:
- the Main menu
- the Smart Menu setup explanation with the older screen references
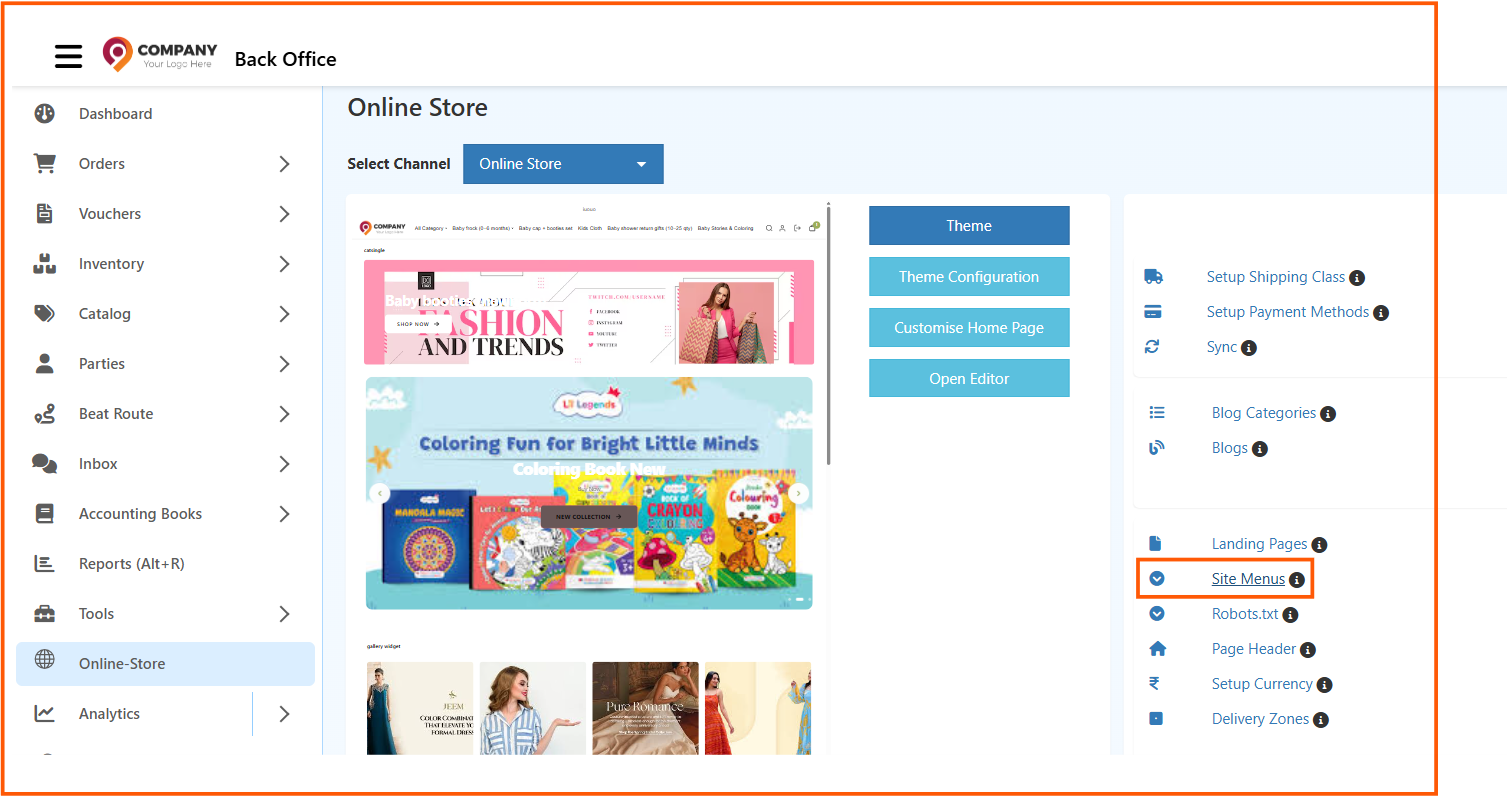
Navigation Path
Back Office -> Online Store -> Site Menus
Access Site Menus
- Login to the Back Office
- Open Online Store
- Select the required store from Select Channel
- Click Site Menus
This opens the menu management area where you can create or edit the menus used in your storefront.
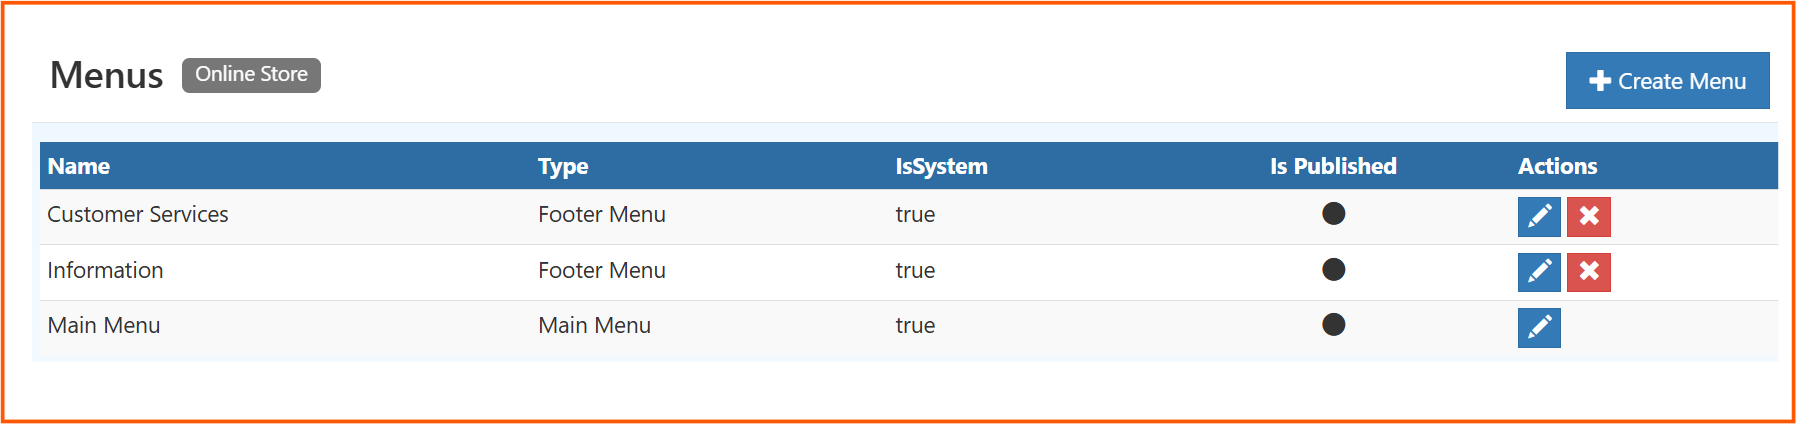
Menus List Page
The Menus page shows all existing menus created for the selected store.
Examples from the screen:
- Customer Services
- Information
- Main Menu
Fields in the Menus List
Name
Shows the name of the menu.
Example:
Customer ServicesInformationMain Menu
Type
Shows the menu type.
Common examples:
Main MenuFooter Menu
This helps you identify where the menu is used in the storefront.
IsSystem
Shows whether the menu is a system-defined menu.
truemeans it is a system menu created by default- system menus are usually important store menus such as Main Menu or default Footer Menus
Is Published
Shows whether the menu is active and available in the storefront.
- published menus can appear in the website
- unpublished menus remain saved but may not be shown to customers
Actions
The action icons allow you to:
- edit a menu
- delete a menu, if deletion is allowed
Create Menu
The Create Menu button is used to add a new menu.
Use it when you want to create a separate footer menu, custom navigation group, or any additional menu structure for the store.
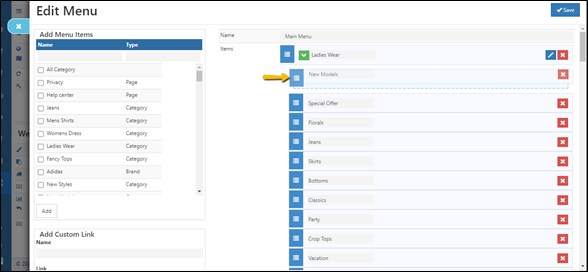
Edit Menu Page
When you click the edit icon for a menu, the Edit Menu page opens. This is where you build the menu structure by adding categories, brands, submenu items, and custom links.
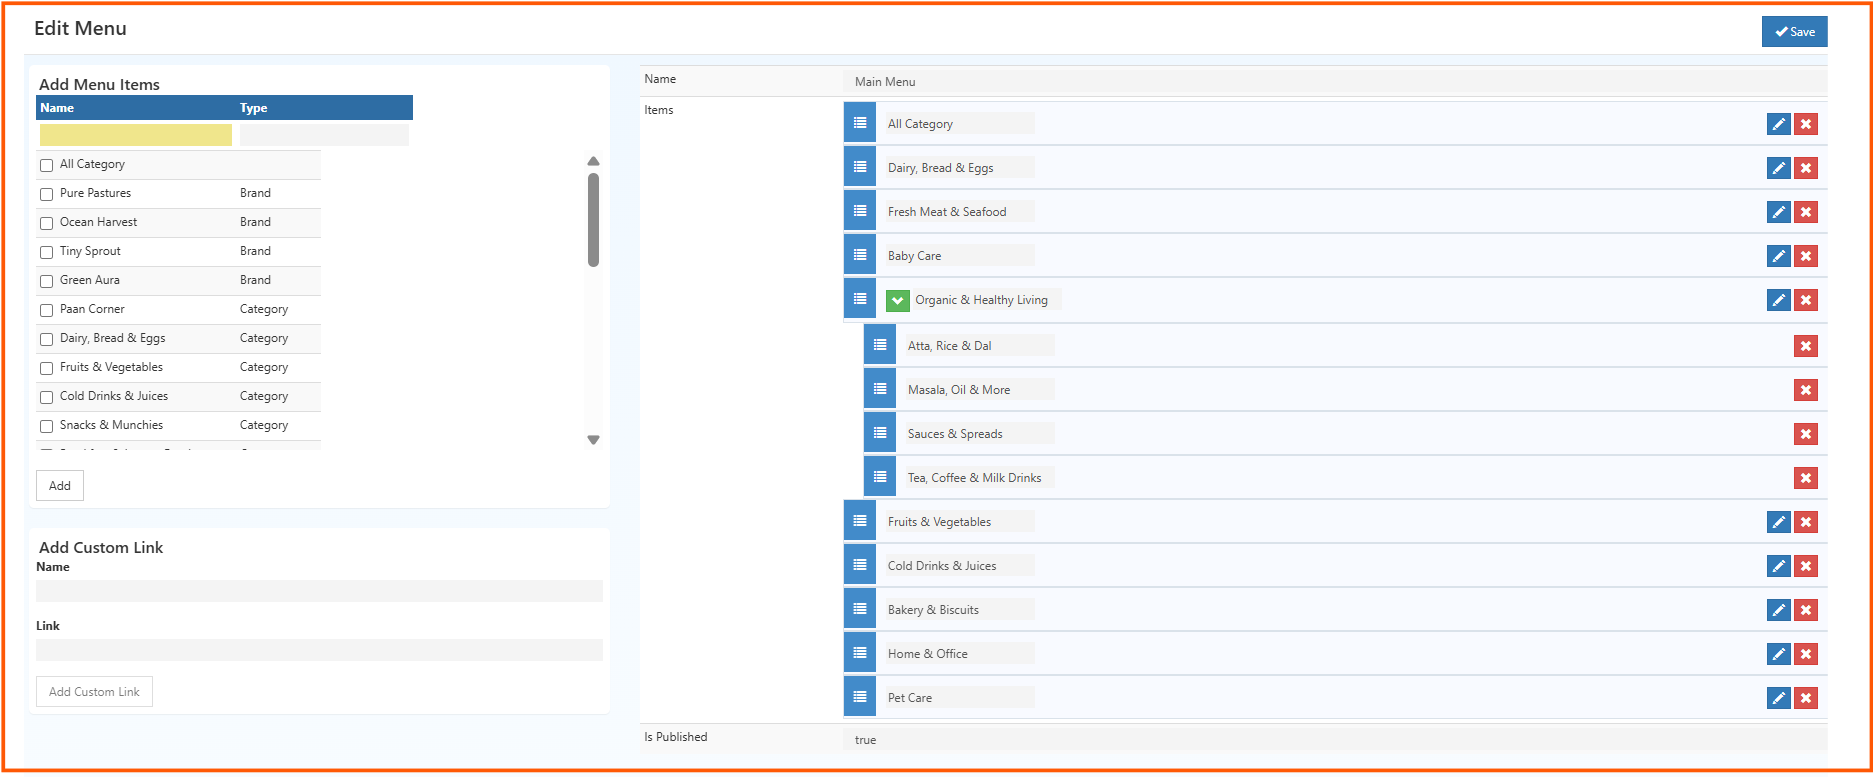
Main Sections in the Edit Menu Screen
Add Menu Items
This section shows the available items that can be added into the selected menu.
The list may include:
- categories
- brands
- other supported menu item types
The columns shown here are:
- Name: Item name
- Type: Item type such as Brand or Category
Use the checkbox to select items and click Add to move them into the menu.
Add Custom Link
This section lets you manually create a custom menu link.
It contains:
- Name: The text shown in the menu
- Link: The destination URL or path
Use this when you want to add:
- a custom landing page
- a blog page
- an offer page
- an external URL
After entering the values, click Add Custom Link.
Name
This shows the name of the menu currently being edited.
Example: Main Menu
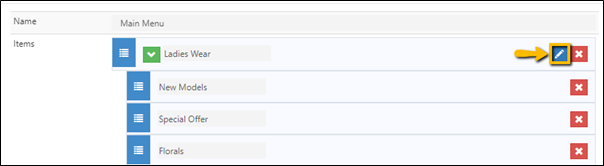
Items
This section displays the items already added to the menu.
From this area, you can:
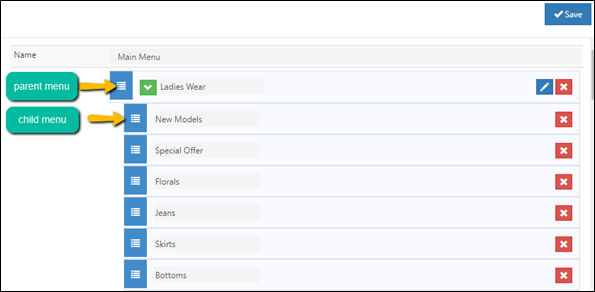
- arrange menu items
- create parent and child relationships
- edit individual menu entries
- remove menu entries
Indented or nested items are usually treated as submenus under the parent menu.
Is Published
This controls whether the selected menu should be active on the storefront.
true-> The menu is publishedfalse-> The menu is saved but not active
Save
Click Save after adding items, rearranging the structure, or updating custom links.
How to Create or Update a Main Menu
- Go to Back Office -> Online Store -> Site Menus
- Open the required menu using the Edit icon
- In Add Menu Items, select categories or brands
- Click Add
- In the Items section, arrange the menu order
- Add submenu items under the required parent item if needed
- Use Add Custom Link for any manual menu link
- Set Is Published to
true - Click Save

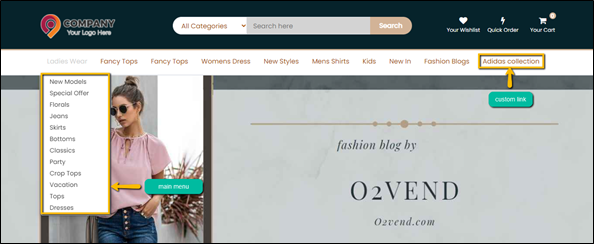
Smart Menu
Smart Menu helps show categories along with page-based enhancements, image support, and submenu visibility for a better browsing experience.
Smart Menu is useful when you want to:
- make menu navigation richer
- display related pages
- highlight categories with images
- improve quick browsing for customers

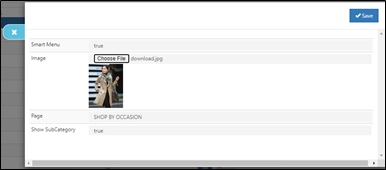
How to Enable Smart Menu
- Open the Main Menu edit icon from Site Menus
- Set Smart Menu to
TRUE - Upload the required image
- Select the required Page
- Set Show Subcategory to
TRUE - Save the menu
- Add child menus under the required parent category if needed
- Set Is Published to
TRUE

If Smart Menu is set to false, the menu behaves like a regular standard menu.
After saving, the menu structure will be updated on the storefront. Customers will be able to navigate through the menu, submenu items, footer links, or Smart Menu layout based on the configuration you applied.