O2VEND Retail ERP
  • Getting Started
  • Ecommerce
  • Back Office
  • POS
  • Agent App
  • PIM
  • Communication
  • CMS
  • OMS
  • WMS
  • O2C
  • Accounting
  • Reports
  • Themes and Apps
Search Results for

    Show / Hide Table of Contents
    • Overview
    • Features
      • Product Management Features
        • Product Management
        • Product Attributes
        • Product Variations
        • SKU Length for Variations
        • Product Pricing
        • Product Margin Settings
        • Product Cost Configuration
        • Product Tax Settings
        • Additional Tax Setup
      • Inventory Management Features
        • Inventory Management
        • Stock Management
        • GRN (Goods Receipt Note)
        • GDN (Goods Delivery Note)
        • Disable Lot Popup Option
      • Order & Sales Features
        • Order Management
        • Point of Sale (POS)
        • Credit Sales & Invoice Return
        • Outstanding Management
        • Voucher Management
        • Guest Checkout Option
      • Marketing & SEO Features
        • SEO Optimization
        • URL Configuration
        • Schema Markup Setup
        • Segmentation
      • Communication & Notification Features
        • Email Settings
        • Communication Settings
        • Notifications
        • Web Notifications
      • System & Security Features
        • Application Settings
        • General Settings
        • Date Configuration
        • IP Restrictions
        • White Listing
        • Print Configuration
        • Option Settings
    • Integrations
      • Marketplace Integrations
        • Amazon Integration
        • Flipkart Integration
        • Myntra Integration
        • Shopify Integration
        • Unicommerce Integration
      • Payment Gateway Integrations
        • Razorpay Integration
        • PayU Integration
        • Paytm Integration
        • PhonePe Integration
        • Cashfree Integration
        • Stripe Integration
        • Paypal Integration
      • Shipping & Logistics Integrations
        • Shiprocket Integration
        • Shipway Integration
        • eShipper Integration
        • Amazon Shipping Integration
        • XpressBees Integration
        • GetDelivered Integration
      • Communication Integrations
        • WhatsApp Integration
        • MSG91 Integration
        • SendGrid Integration
        • Amazon SES Integration
        • Email Integration
      • Marketing & CRM Integrations
        • HubSpot Integration
        • Typesense Integration
      • Tax & Compliance Integrations
        • e-Invoice Integration
        • e-Way Bill Integration
        • Tax Configuration
      • Security & Technical Integrations
        • reCAPTCHA Integration
        • Webhook Integration
        • Custom CDN Domain Setup
      • Inventory & Store Integrations
        • Inventory Integration
        • Storefront Integration
        • Display Configuration
        • General Settings
    • Product Enhancements
      • Affiliate Program Management
      • Back Office Management System
      • Checkout Process Settings
      • Coupon Code Management
      • Currency Configuration Settings
      • Delivery Zone Configuration
      • Discount Management System
      • Product Display Settings
      • Geo IP Location Detection
      • GTIN Product Code Management
      • Invoice Management System
      • Marketing & Campaign Tools
      • Menu Management Settings
      • Pricing Rule Configuration
      • Purchase Management Module
      • Referral Program Settings
      • Return Management Process
      • Sales Management System
      • Shipment & Delivery Tracking
      • SMS Notification Settings
      • Sub Location Management
      • Vendor Management System
      • Product Video Integration
      • Web Store Configuration
      • WhatsApp Integration Settings
    • Blog Categories Setup
    • Blog Management
    • Email Settings
    • Home Page Components
    • Main Menu Management
    • Newsletter Subscription Settings
    • SMS Settings
    • WhatsApp Settings
    • Communication Template Setup
    • Page Header Settings
    • Site Menu Management
    • Site Pages Management

    e-Invoice Integration in O2VEND

    e-invoice integration in O2VEND enhances the overall invoicing process, making it more efficient, secure, and compliant with modern business practices and regulatory requirements.

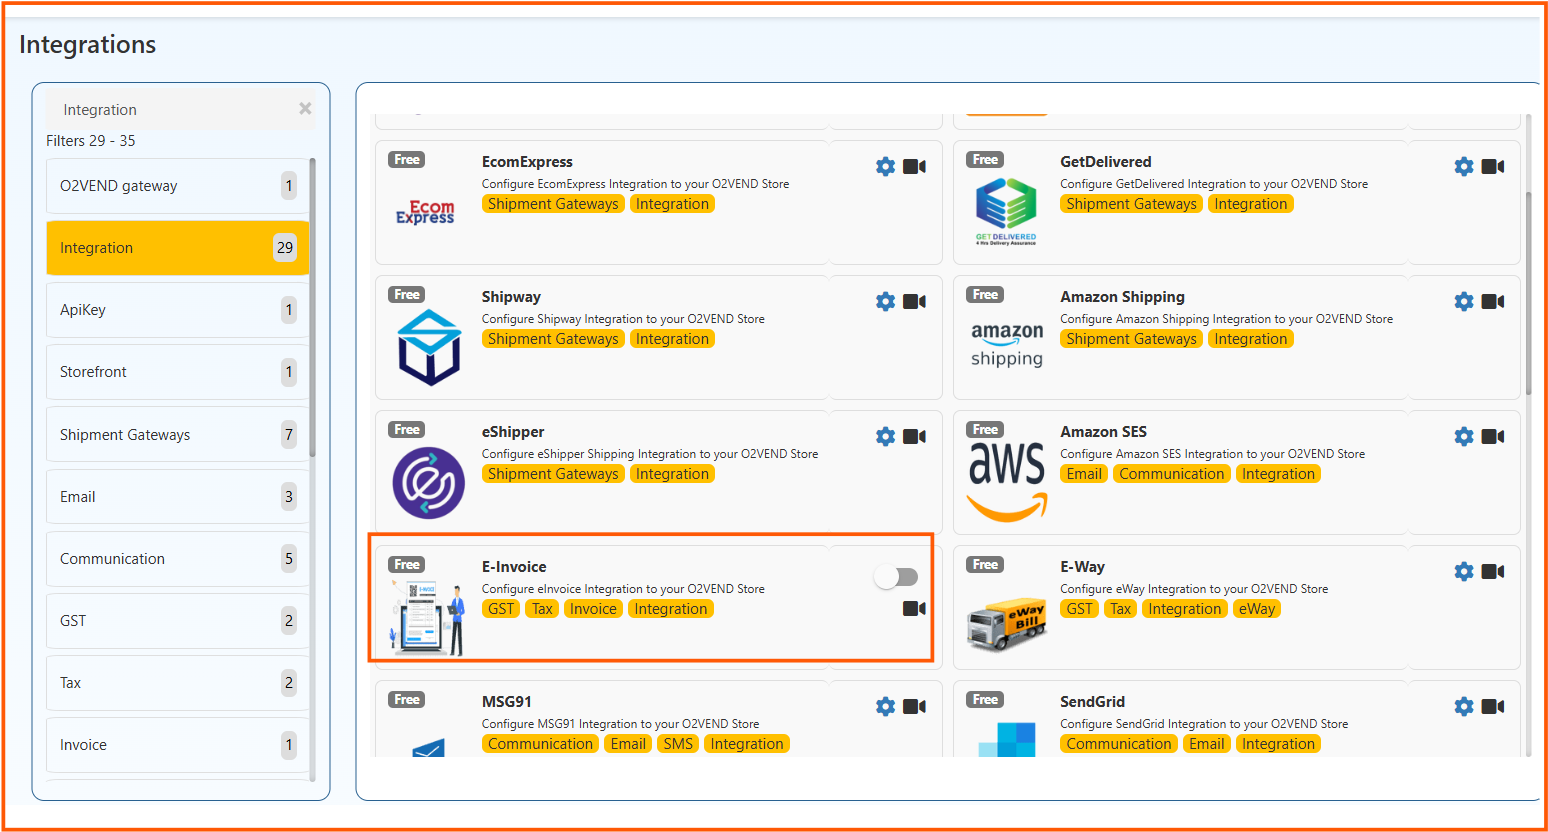
    Easily integrate e-Invoice by following these straightforward steps:

    STEP-1: Click on the link provided for Registration

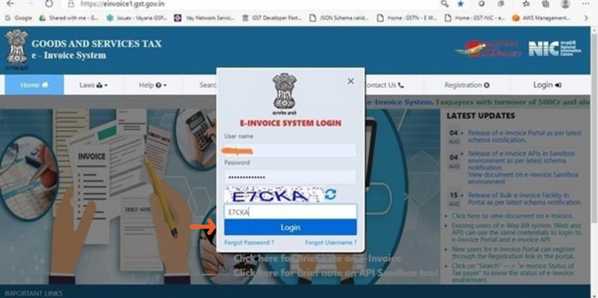
    STEP-2: After registration is complete then go through this link for login

    e-Invoice Integration in O2VEND

    STEP-3: Select the Login option and input your username and password.

    e-Invoice Integration in O2VEND

    STEP-4: Upon successful login, you'll encounter a screen with a similar appearance.

    e-Invoice Integration in O2VEND

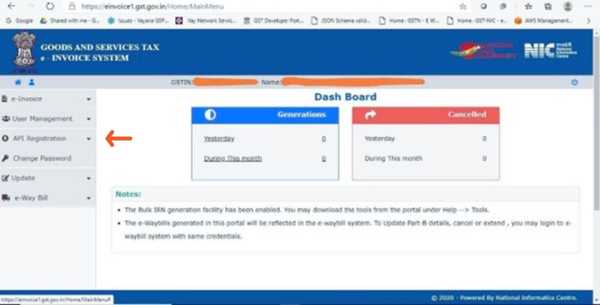
    STEP-5: Click on API Registration.

    e-Invoice Integration in O2VEND

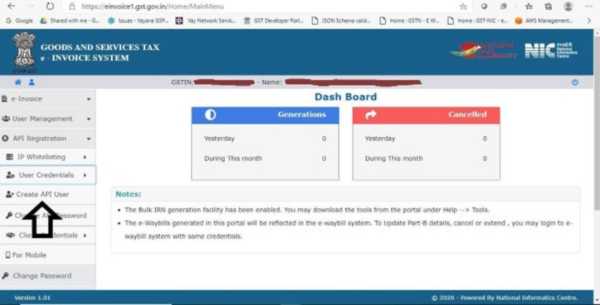
    STEP-6: Click on User Credentials.

    e-Invoice Integration in O2VEND

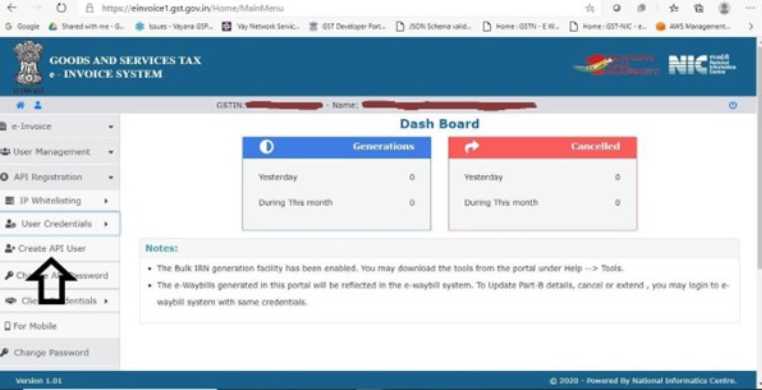
    STEP-7: Click on Create API User.

    STEP-8: It will initiate a One-Time Password (OTP) to the mobile number you have registered.

    e-Invoice Integration in O2VEND

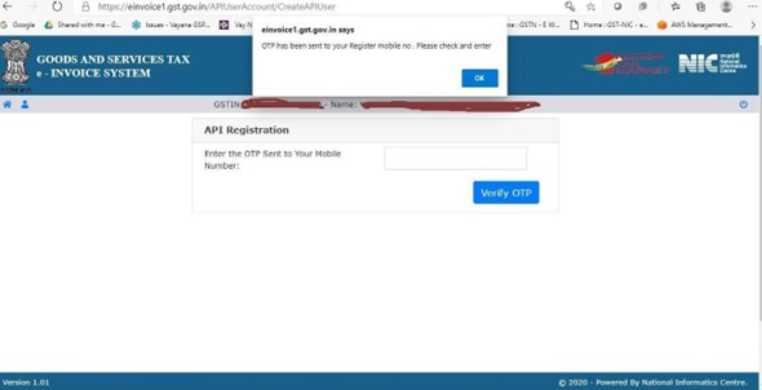
    STEP-9: Kindly input the OTP and select Verify OTP.

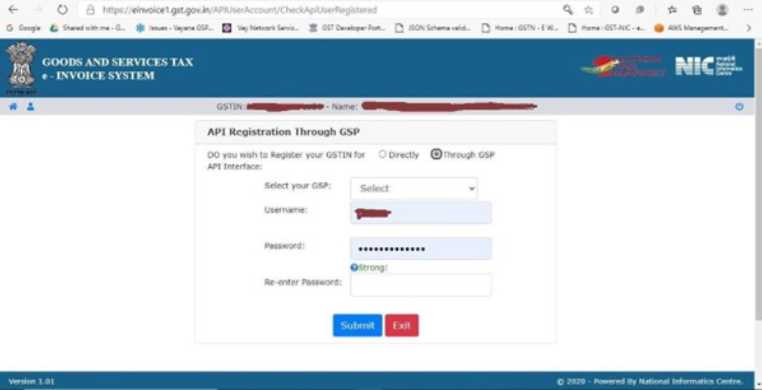
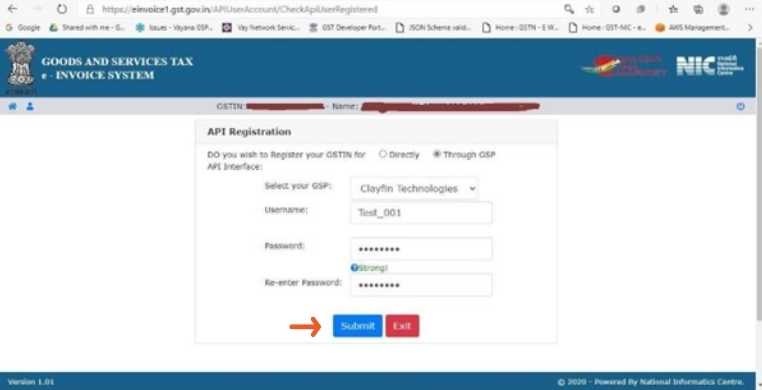
    STEP-10: Choose the option Through GSP afterward.

    e-Invoice Integration in O2VEND

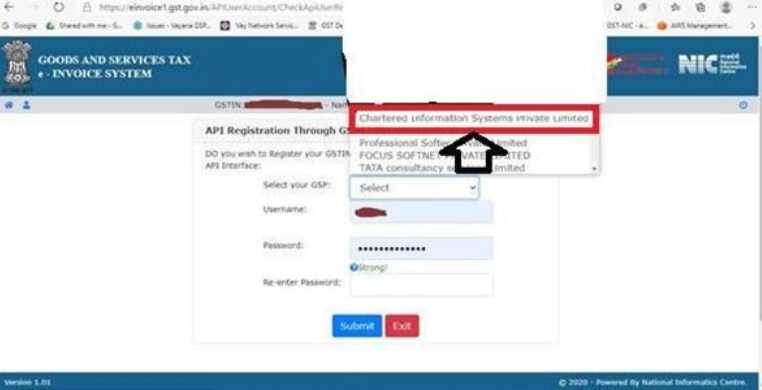
    STEP-11: Choose Chartered Information Systems Private Limited as your GSP. This is the GSP employed by O2VEND (Jeyan Technologies Private Limited) for establishing a connection.

    e-Invoice Integration in O2VEND

    STEP-12: Create API username and password, then proceed to submit the information. Ensure that you update this username in O2VEND.

    e-Invoice Integration in O2VEND

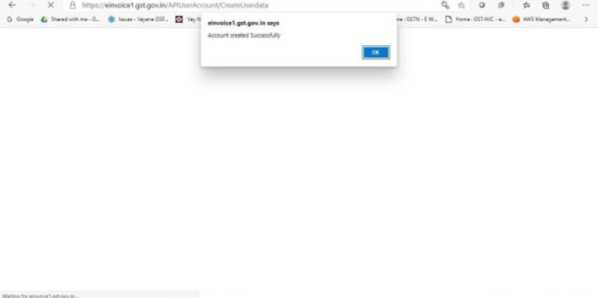
    STEP-13: Kindly verify the acknowledgment from the E-Invoice System.

    e-Invoice Integration in O2VEND

    Steps to integrate e-Invoice with O2VEND

    STEP-1: Go to the O2VEND Back Office.

    STEP-2: Choose the Integration page.

    STEP-3: Locate the E-invoice configuration icon.

    STEP-4: Open the configuration icon by clicking on it.

    STEP-5: Initiate the E-invoice Configuration process by clicking the Create E-invoice Configuration button.

    STEP-6: Provide the necessary details, such as your GSTIN number, registered email address, and registered mobile number.

    STEP-7: Upon entering all required information, save the configuration by clicking the Save button.

    e-Invoice Integration in O2VEND

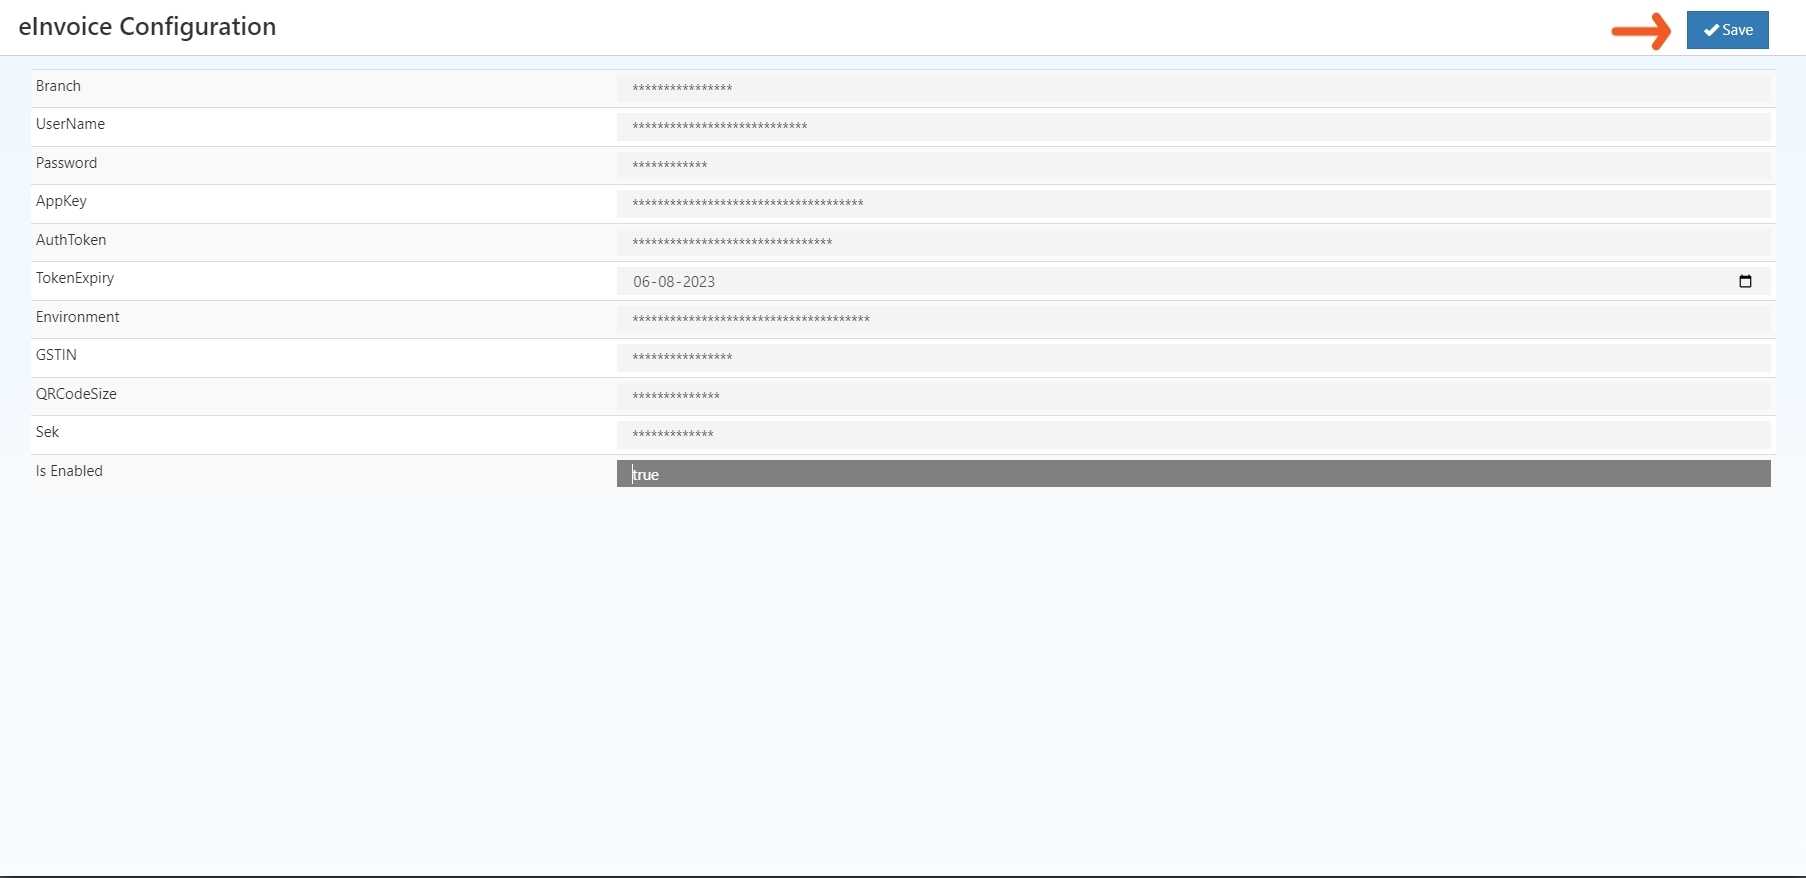
    STEP-8: Then e-Invoice Integration has been Enabled.

    In this article
    Back to top _includes/footer.html
    © 2019–2026 Jeyan Technologies Private Limited • www.o2vend.com • Create your own store