Site Pages Management
The Landing Pages section in O2VEND helps you create and manage custom pages for your online store. These pages can be used for informational content, promotional pages, support content, help center pages, privacy pages, and other custom storefront content.
This page is useful when you want to:
- create custom content pages
- add SEO-friendly page details
- control the page URL
- write formatted page content
- publish informational pages for customers
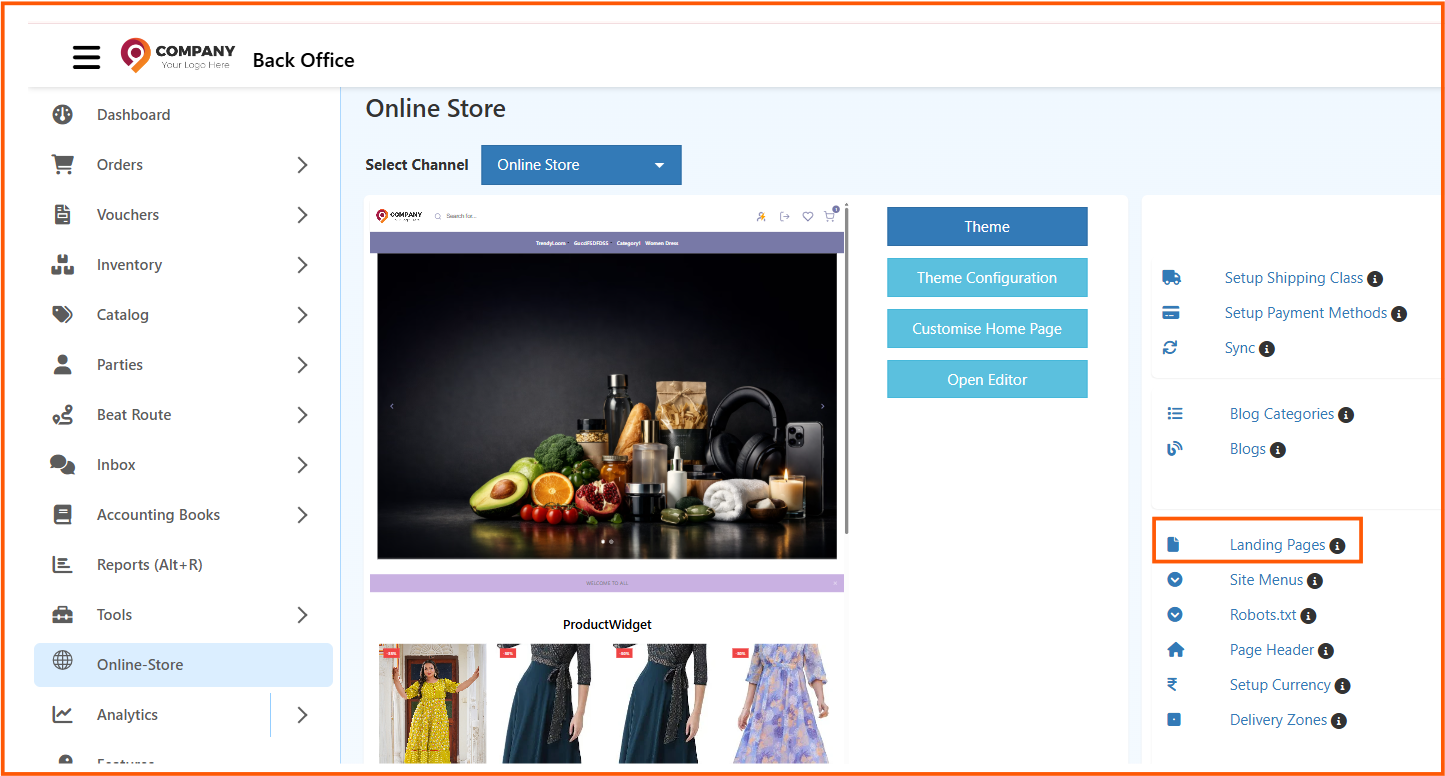
Navigation Path
Back Office -> Online Store -> Landing Pages

How to Create a Site Page
- Go to Back Office -> Online Store -> Landing Pages
- Click Create Page
- Enter the Name
- Enter the Url
- Fill in the Meta Title
- Add Meta Keywords
- Add Meta Description
- Write the content in the Body
- Confirm the Channel Name
- Click Save

Pages List Screen
The Pages screen displays all created content pages in one place.
Example pages shown in the screen:
PrivacyHelp center
Fields in the Pages List
Name
Shows the name of the page.
Examples:
PrivacyHelp center
Url
Shows the page URL or slug.
Examples:
privacyhelp-center
This value becomes part of the page link in the storefront.
Is Published
Shows whether the page is active on the storefront.
- published pages can be viewed by customers
- unpublished pages remain saved but are not visible publicly
Actions
The action icons are used to:
- edit the page
- delete the page
Create Page
The Create Page button is used to add a new content page.
Use it when you want to create pages such as:
- privacy policy
- help center
- about us
- offer pages
- brand or collection pages
Create Page Screen
When you click Create Page, the page creation form opens.
This screen allows you to enter the page name, SEO details, content body, and channel details.
Create Page Fields
Each field in the Create Page screen has a specific purpose.
Name
Enter the page name.
Example: Designer Blouse Collection
This is the title used to identify the page.
Url
Enter the page URL or slug.
Example: designer-blouse-collection
This should be short, readable, and usually written in lowercase with hyphens.
Meta Title
Enter the SEO title for the page.
Example: Trendy Designer Blouses for Women | Latest Styles Online
This title may appear in search engine results and browser tabs.
Meta Keywords
Enter keywords related to the page content.
Example: designer blouse, silk blouse, trendy blouse, wedding blouse, women blouse designs
Use keywords that closely match the content shown on the page.
Meta Description
Enter a short SEO description for the page.
Example: Shop the latest designer blouse collection with elegant and modern styles. Perfect for weddings, festivals, and daily wear.
This description may be shown in search engine previews.
Body
This is the main content area of the page.
Use the editor to add:
- formatted text
- headings
- lists
- links
- images
- rich content
Example body content:
Explore our stunning Designer Blouse Collection crafted for modern women.
Upgrade your fashion style today!
Channel Name
This shows the store or channel where the page belongs.
Example: Online Store
Use this to confirm that the page is being created for the correct storefront.
Save
The Save button stores the page details and content.
Click Save only after verifying the URL, SEO details, and body content.
Where These Pages Can Be Used
Created pages can be used for:
- help center pages
- privacy policy pages
- terms and conditions
- about us pages
- promotional or campaign pages
- custom informational pages
These pages can also be linked through menus and other storefront navigation areas.
After saving, the page will appear in the Pages list. If published and linked properly, customers will be able to access it from the storefront through its URL or menu navigation.