Shipway Integration in O2VEND | Configure Tracking and Shipping Updates
Learn how to set up Shipway integration in O2VEND to manage courier tracking, shipping updates, and delivery status workflows.
Navigation Path
Back Office -> Integration -> Shipway
Step 1: Create Shipway Account
- Register your shipway account.
- Enter:
- Name
- Company Name
- Phone Number
- Click Submit
- You will receive:
- Login ID
- License Key (via email)

Step 2: Configure Shipway in O2VEND
- Go to Back Office -> Integration -> Shipway
- Enter:
- Login ID
- License Key
- Add Base Tracking URL (used to track shipments)
- Set Default Pickup Pincode
- Select required Attributes
- Enable Is Enabled = True
- Click Save

Required Fields Explanation
- Login ID: Your Shipway account ID
- License Key: Authentication key from Shipway
- Base Tracking URL: Link used to track shipment status
- Pickup Pincode: Default pickup location
- Is Enabled: Enables courier option in order processing
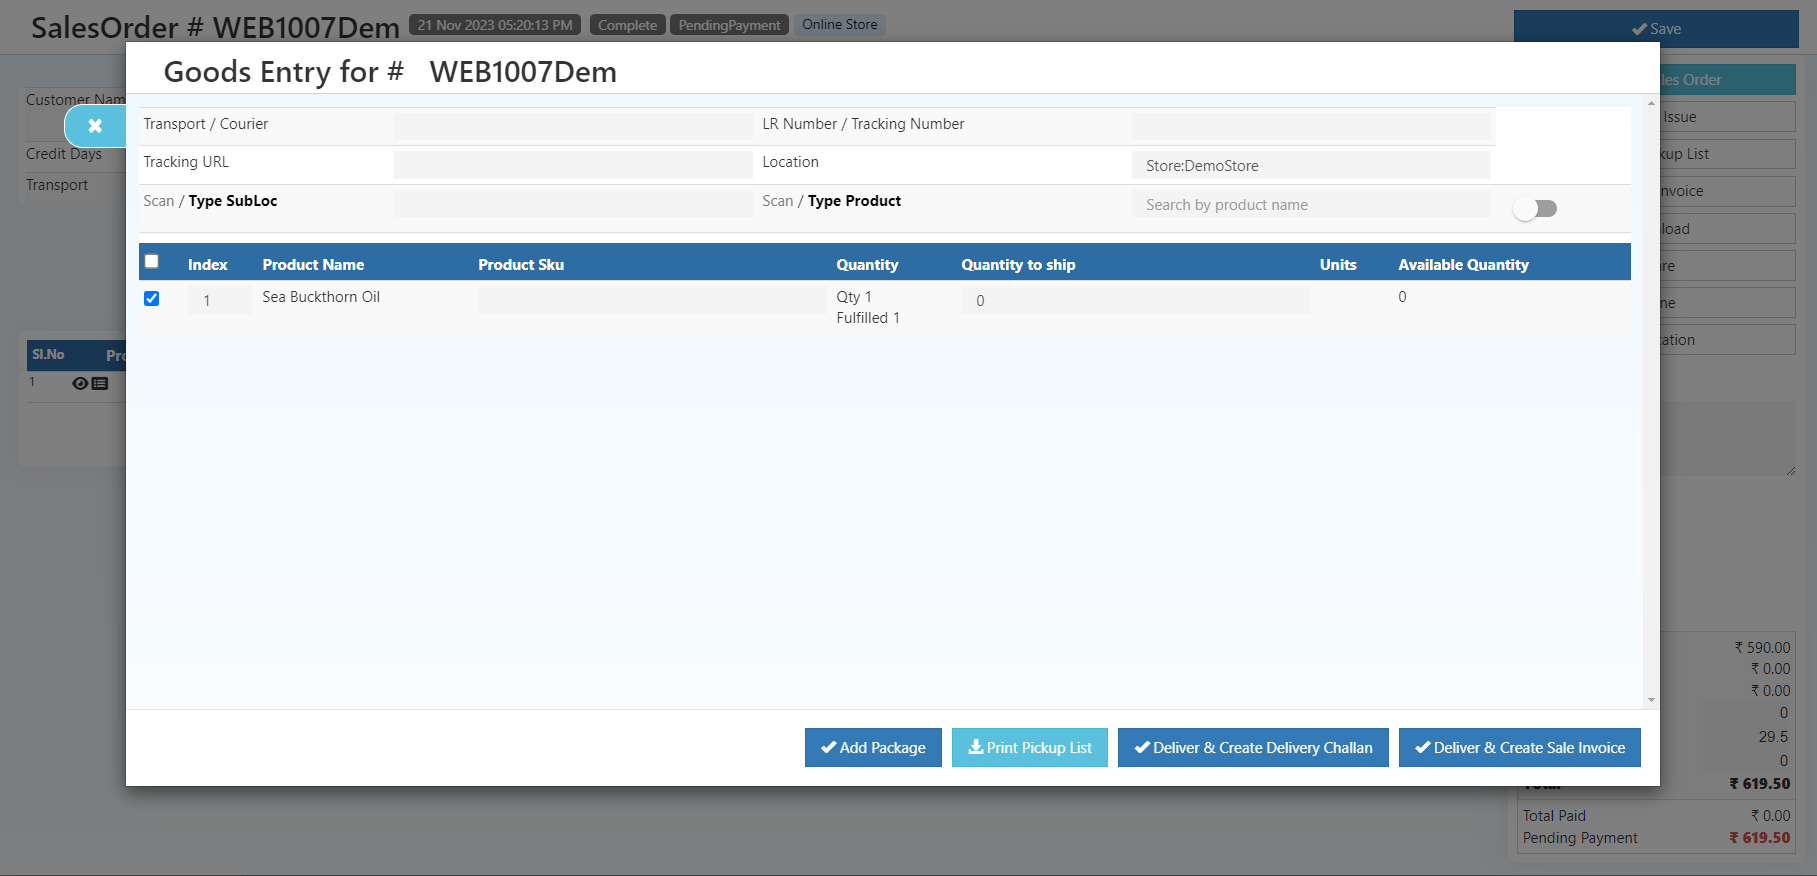
Step 3: Process Orders
- Go to Back Office ? Orders ? Sales Order
- Create a new order
- Click Issue Goods
- Click Add Package
- Click Fetch Courier
- Enter package details and confirm

Important Notes
?? Recharge your Shipway wallet before shipping
- Without balance, courier options will not appear
- Orders will not be processed
Result
Shipway is now successfully integrated.
You can track shipments and manage deliveries directly from O2VEND.