PhonePe Integration in O2VEND | Configure PhonePe Payment Gateway
Learn how to set up PhonePe integration in O2VEND using Merchant ID, Salt Key, and Salt Index to enable secure online payments.
Navigation Path
Back Office -> Integration -> PhonePe
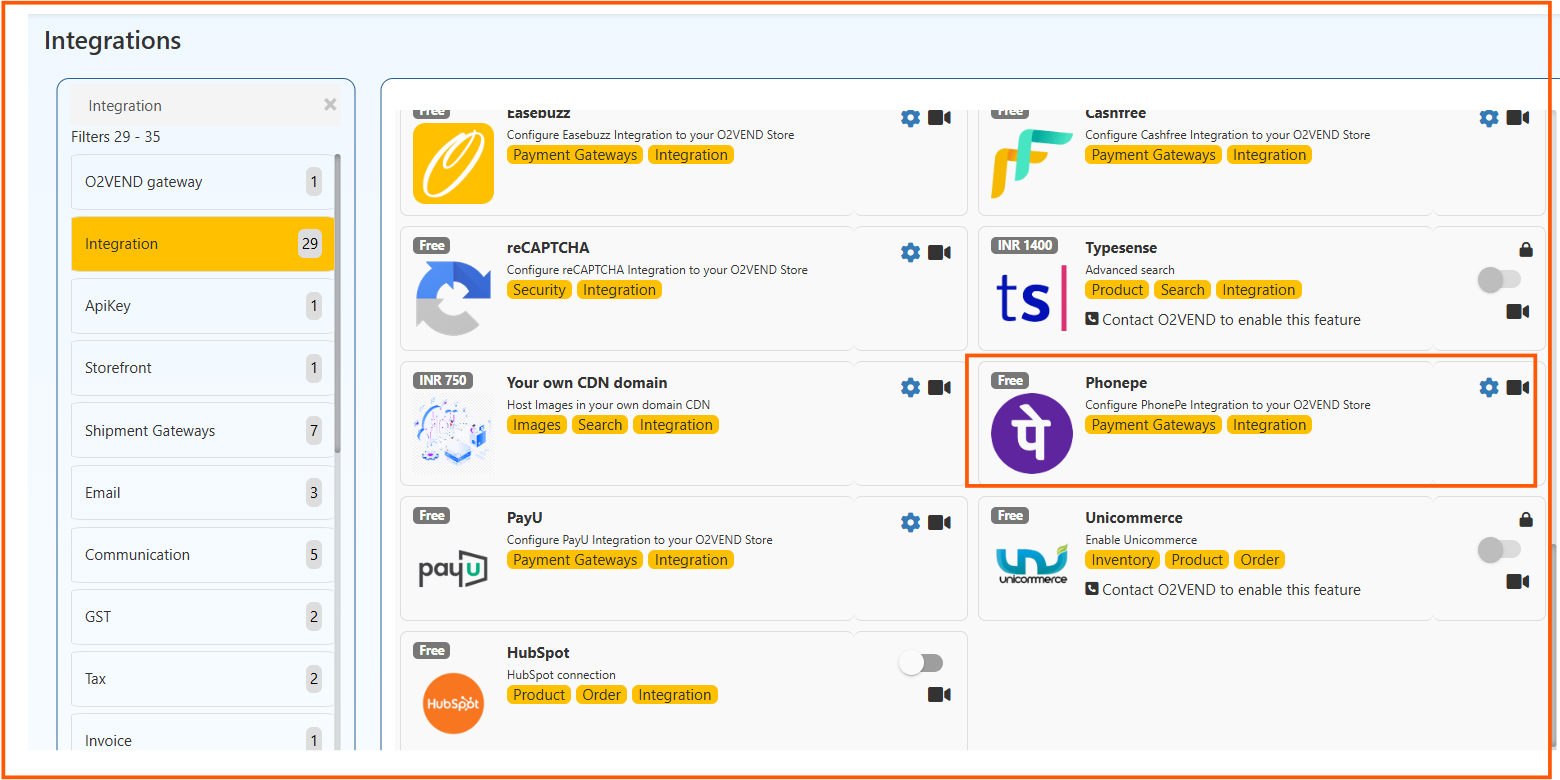
Access PhonePe Integration
Go to the Integrations module and select PhonePe.
Create PhonePe Account
- Register here: https://bitly.ws/36qY5 in Phonepe.
- Fill business and contact details
- Verify using OTP
- Submit required documents
- Receive Merchant ID, Salt Key, Salt Index
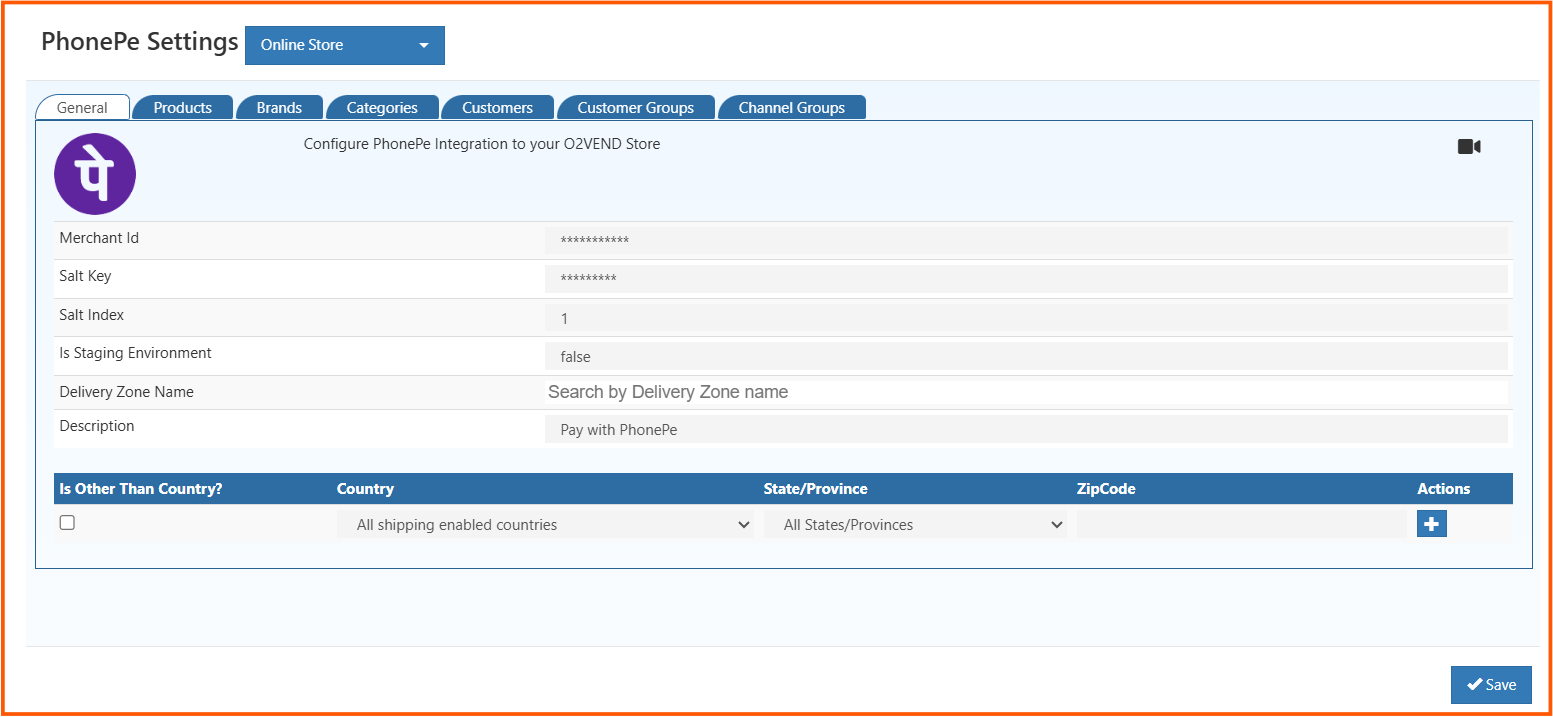
Configure PhonePe
- Go to Back Office -> Integration -> PhonePe
- Enter required details:
- Merchant ID � Unique ID provided by PhonePe
- Salt Key � Used for secure transaction validation
- Salt Index � Key reference index
- Set environment:
True? ProductionFalse? UAT/Sandbox
- Add Description (shown on checkout page)
- Set Country / State / Zip Code (optional)
- Click Save
Required Fields Explanation
- Merchant ID: Identifies your PhonePe business account
- Salt Key: Ensures secure and encrypted transactions
- Salt Index: Used along with Salt Key for validation
- Is Staging Environment: Defines whether it's Test or Live mode
- Description: Payment name visible to customers
- Location (Country/State/Zip): Controls where PhonePe is available
If location is not specified, PhonePe will be available for all regions.
Filter-Based Configuration
PhonePe can be controlled using the following filters:
- Products � Enable/disable for specific products
- Brands � Apply for selected brands only
- Categories � Restrict based on product categories
- Customers � Enable for specific customers
- Customer Groups � Apply for selected groups
- Channel Groups � Control based on sales channels
How Filters Work
- Included Selected ? Works only for selected items
- Excluded Selected ? Works for all except selected items
- No Selection ? Works for all by default
Enable PhonePe Payment
- Go to Back Office ? Online Store ? Setup Payment Method
- Enable PhonePe
- Confirm the popup

PhonePe is now enabled and available during checkout based on your configuration.