Sub Location in O2VEND ERP for Warehouse Inventory Management
Learn how to create and manage sub locations in O2VEND ERP for efficient warehouse bin management, inventory tracking, and stock organization.
Sub locations help organize inventory inside a warehouse or store by dividing a main location into smaller storage areas such as bins, racks, or shelves. This improves stock tracking, accuracy, and overall warehouse efficiency.
How to Access Sub Location Settings in O2VEND ERP
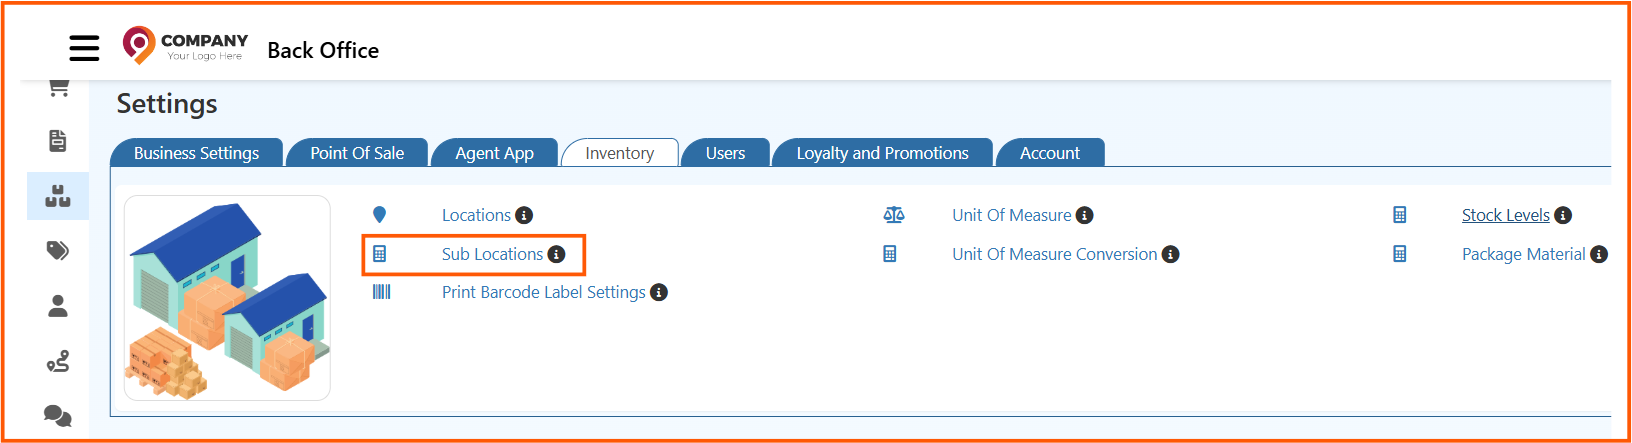
Navigate to the Sub Location page from:
Back Office > Settings > Inventory > Sub Location
What Is a Sub Location in Warehouse Management?
A sub location is a defined storage point within a larger warehouse location. It allows you to track inventory at a more detailed level instead of managing all stock under a single location.
For example, items can be stored in specific racks, shelves, or bins, making them easier to locate and manage.
Benefits of Using Sub Locations for Inventory Tracking
Using sub locations improves warehouse operations in multiple ways:
- Better organization of warehouse bins and shelves
- Improved inventory tracking accuracy
- Faster picking and stock placement
- Reduced errors during stock handling
- Scalable structure for growing inventory
How to Create a Sub Location in O2VEND ERP
Follow these steps to create a sub location:
- Open Sub Location from Inventory settings
- Enter a Sub Location Name (e.g., Bin 1, Rack A1)
- Select the Sub Location Type
- Choose the related Warehouse Location
- (Optional) Assign a Parent Sub Location for hierarchy
- Click Save

Sub Location List View and Management Options
After creating sub locations, they are displayed in a list view.

The list includes:
- Name – Sub location name
- Parent Name – Parent location or sub location
- Actions – Edit or delete options
Where Sub Locations Are Used in Inventory Operations
Sub locations are used in daily inventory processes such as:
- Assigning stock to specific bins or racks
- Transferring items between storage areas
- Receiving stock into designated locations
- Tracking stock movement and history
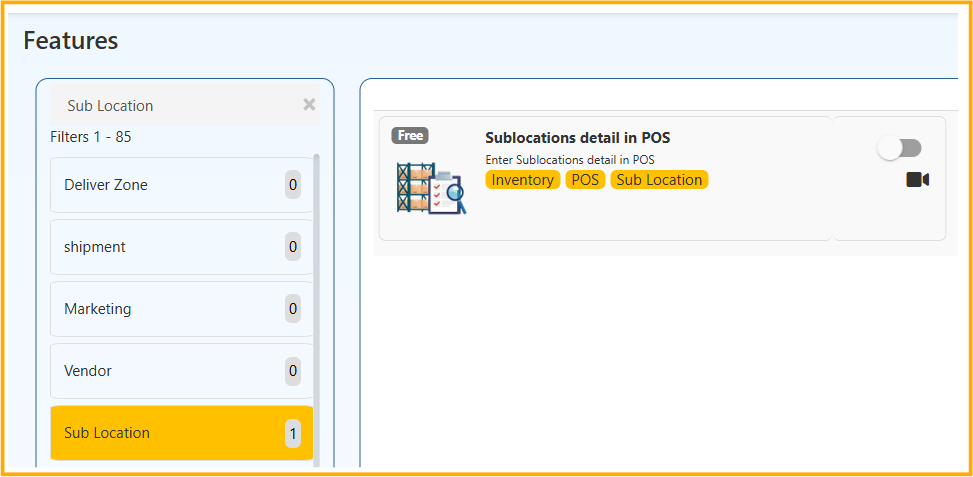
Enable this option to display sub locations in POS. Go to Features-> Sublocation
Related Inventory Setup Pages in O2VEND ERP
Use these pages when configuring your warehouse structure:
- Locations – Set up main warehouse or store locations
- Stock Levels – Manage reorder and safety stock
- Unit Of Measure – Define measurement units
- Unit Of Measure Conversion – Convert units
- Print Barcode Label Settings – Configure barcode printing
- Package Material – Manage packaging materials
- Branches – Link inventory with business branches
Why Sub Locations Are Important for Warehouse Organization
Sub locations provide a structured approach to warehouse inventory management. By dividing storage into smaller sections, businesses can improve stock accuracy, reduce operational errors, and gain better visibility of inventory.