How to Cancel a Purchase Invoice
This guide explains how to cancel a purchase invoice in O2VEND using the Change Status tab.
Overview
In O2VEND, a purchase invoice can be cancelled by changing its status to Void.
Once an invoice is set to Void, it cannot be reopened or reversed.
Important: Cancelling an invoice is a permanent action. Make sure you have the correct reason before proceeding.
Steps to Cancel a Purchase Invoice
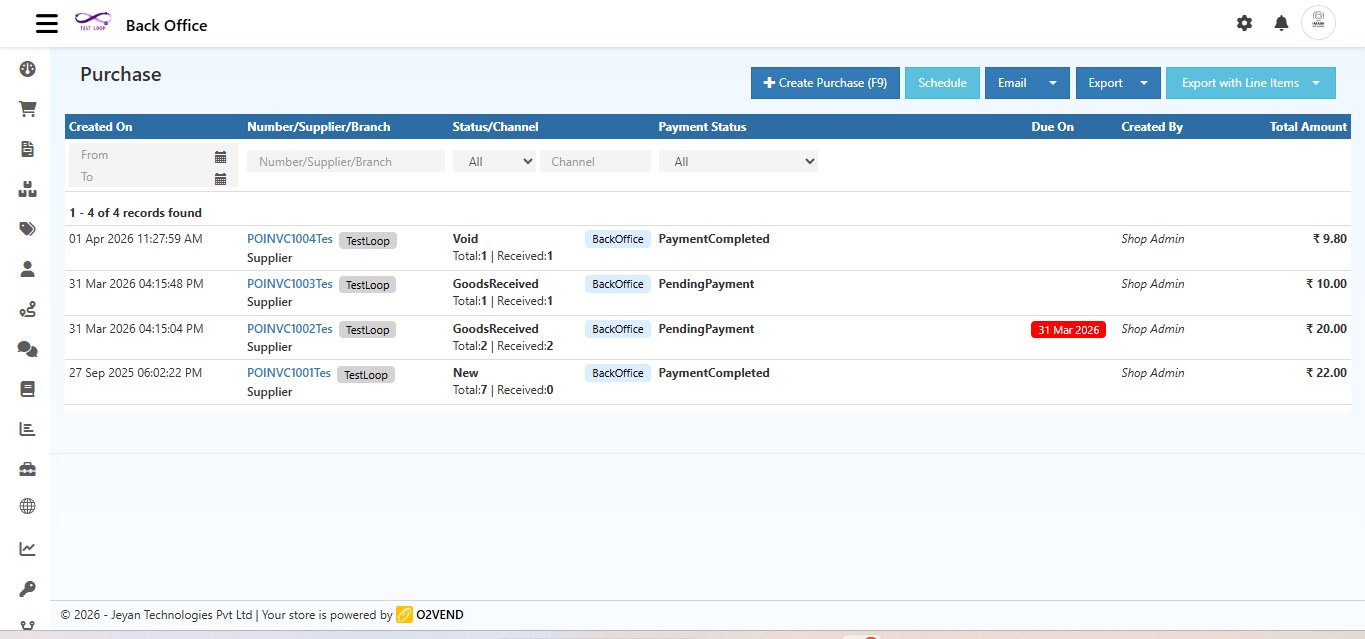
Step 1 — Open the Purchase Invoice
Navigate to:
Back Office → Voucher → Purchase
Click the Invoice Number from the list to open the invoice you want to cancel.
Step 2 — Go to the Change Status Tab
Inside the invoice, click the Change Status tab from the top tab bar.
You will see two fields:
- Change Status — dropdown to select the new status
- Reason — text box to enter the reason for the change
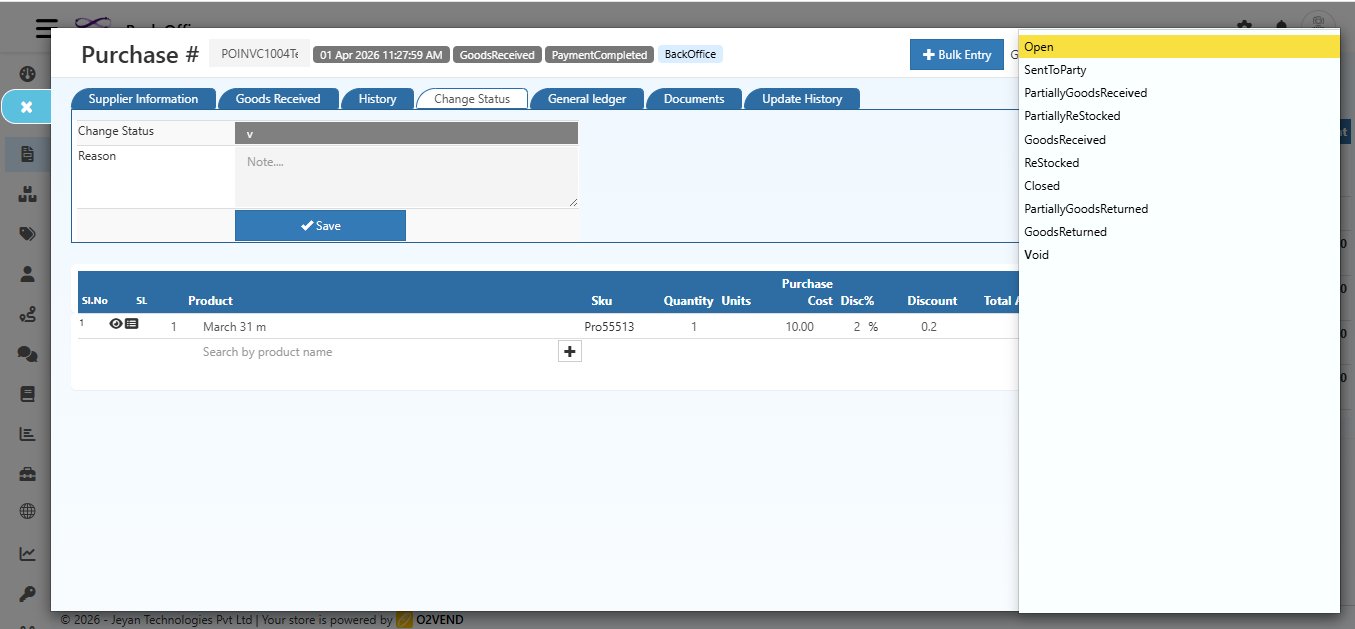
Step 3 — Select the Status
Click the Change Status dropdown. The following status options are available:
| Status | What It Means |
|---|---|
| Open | Invoice is open and active |
| SentToParty | Invoice has been sent to the supplier |
| PartiallyGoodsReceived | Some goods have been received |
| PartiallyReStocked | Goods have been partially restocked |
| GoodsReceived | All goods have been received |
| ReStocked | Goods have been fully restocked |
| Closed | Invoice is closed |
| PartiallyGoodsReturned | Some goods have been returned |
| GoodsReturned | All goods have been returned |
| Void | Invoice is cancelled permanently |
Select Void to cancel the invoice.
Step 4 — Enter the Reason
In the Reason text box, type the reason for cancelling the invoice.
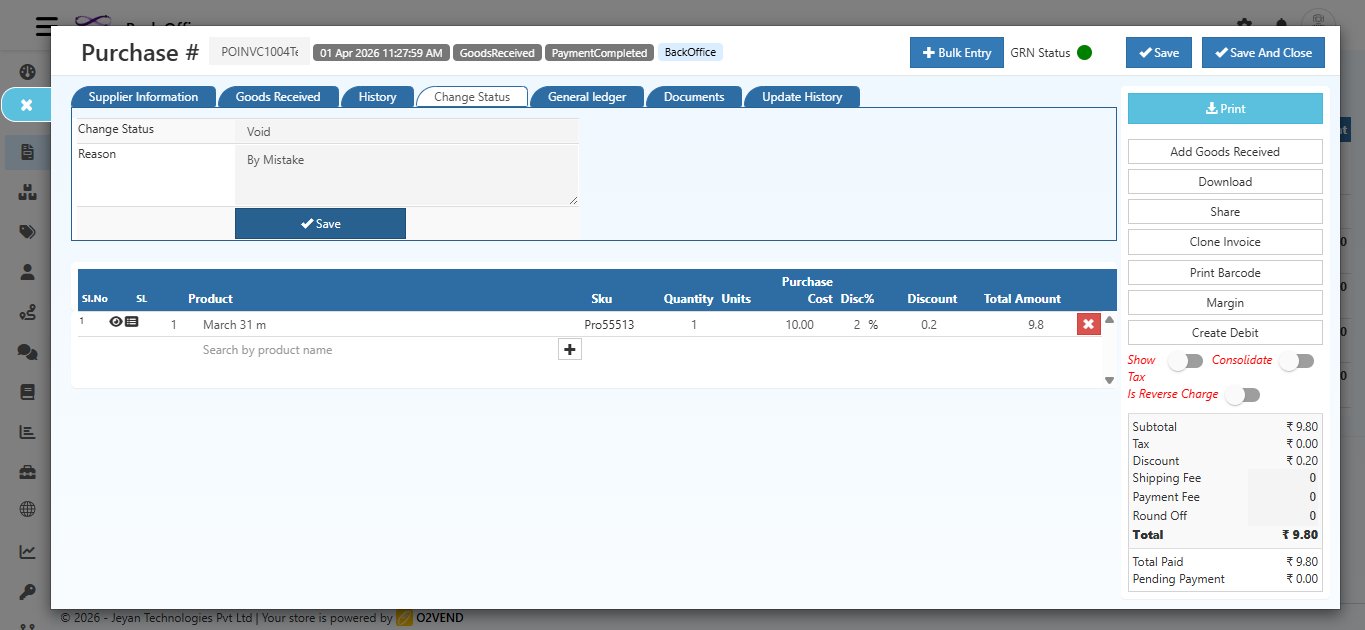
Example reason: "By Mistake", "Duplicate Invoice", "Wrong Supplier", etc.
Always enter a clear reason so the audit history is accurate.
Step 5 — Click Save
Click the Save button.
A confirmation dialog will appear:
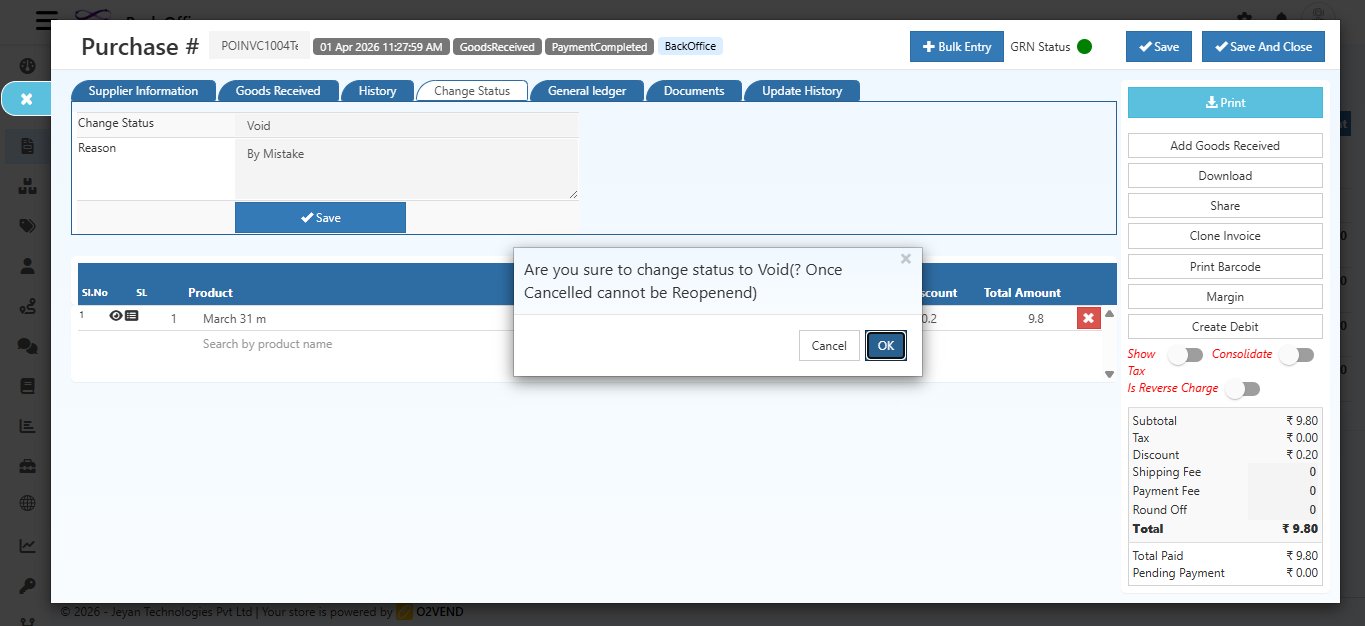
"Are you sure to change status to Void? (Once Cancelled cannot be Reopened)"
- Click OK to confirm and permanently cancel the invoice
- Click Cancel to go back without making any changes
Step 6 — Invoice is Cancelled
After confirming, two success messages appear at the bottom left:
- Transaction Deleted.
- The order now is Void
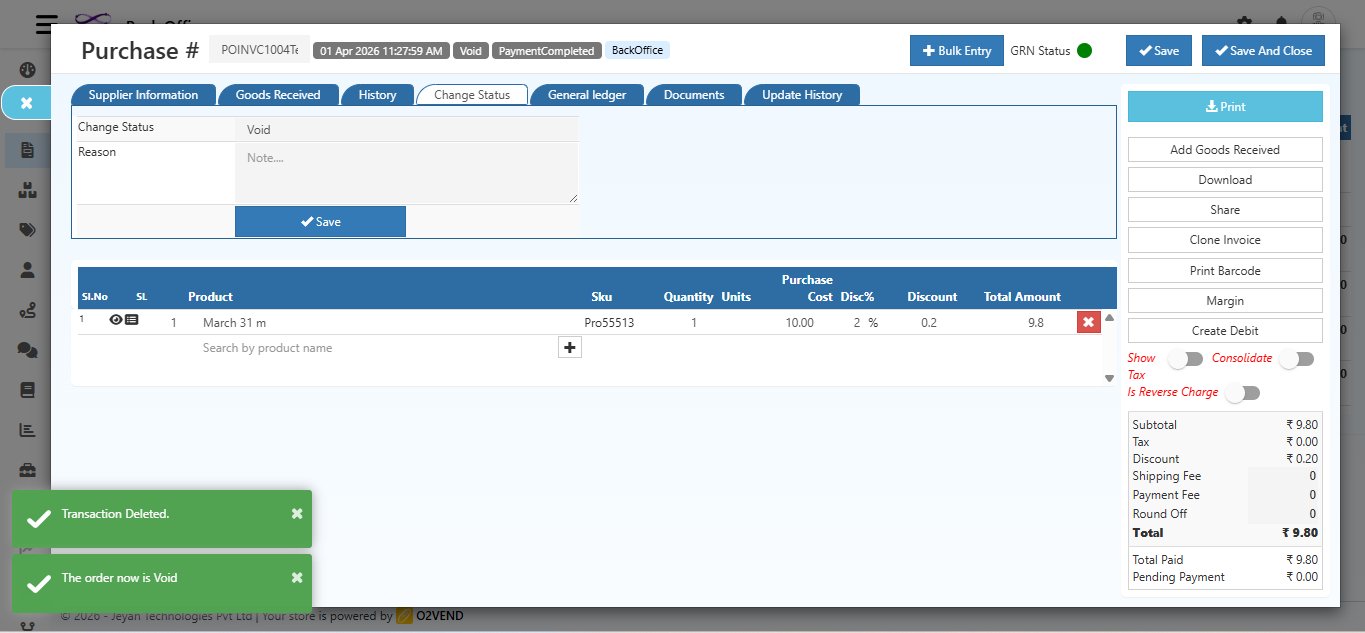
The invoice header now shows the status badge updated to Void.
After Cancellation
Once the invoice is Void:
- The status in the Purchase List shows as Void
- The invoice is visible in the list but cannot be edited or reopened
- The transaction is removed from accounting records — shown by the "Transaction Deleted" message
All Available Status Options (Reference)
| Status | Use Case |
|---|---|
| Open | Default status when invoice is first created |
| SentToParty | When invoice is sent to the supplier party |
| PartiallyGoodsReceived | When partial delivery is received |
| PartiallyReStocked | When partial goods are added back to stock |
| GoodsReceived | When full delivery is confirmed |
| ReStocked | When all goods are returned to stock |
| Closed | When the invoice is fully settled and closed |
| PartiallyGoodsReturned | When some goods are returned to supplier |
| GoodsReturned | When all goods are returned to supplier |
| Void | When the invoice is cancelled permanently |
Quick Summary
| Step | Action |
|---|---|
| 1 | Open the Purchase Invoice from the list |
| 2 | Click the Change Status tab |
| 3 | Select Void from the dropdown |
| 4 | Enter a Reason for cancellation |
| 5 | Click Save |
| 6 | Click OK in the confirmation dialog |
| Invoice is cancelled — status shows Void |
Remember: A Void invoice cannot be reopened. If you cancelled by mistake, you will need to create a new purchase invoice.