How to Create GDN (Goods Dispatched Note) | Step-by-Step Guide
Learn how to create a Goods Dispatched Note (GDN) in O2VEND ERP to manage outbound shipments, track deliveries, and maintain accurate inventory stock-out records.
Navigation
Back Office → Inventory → Outgoing Packages → Goods Dispatched
Step-by-Step: Create a GDN

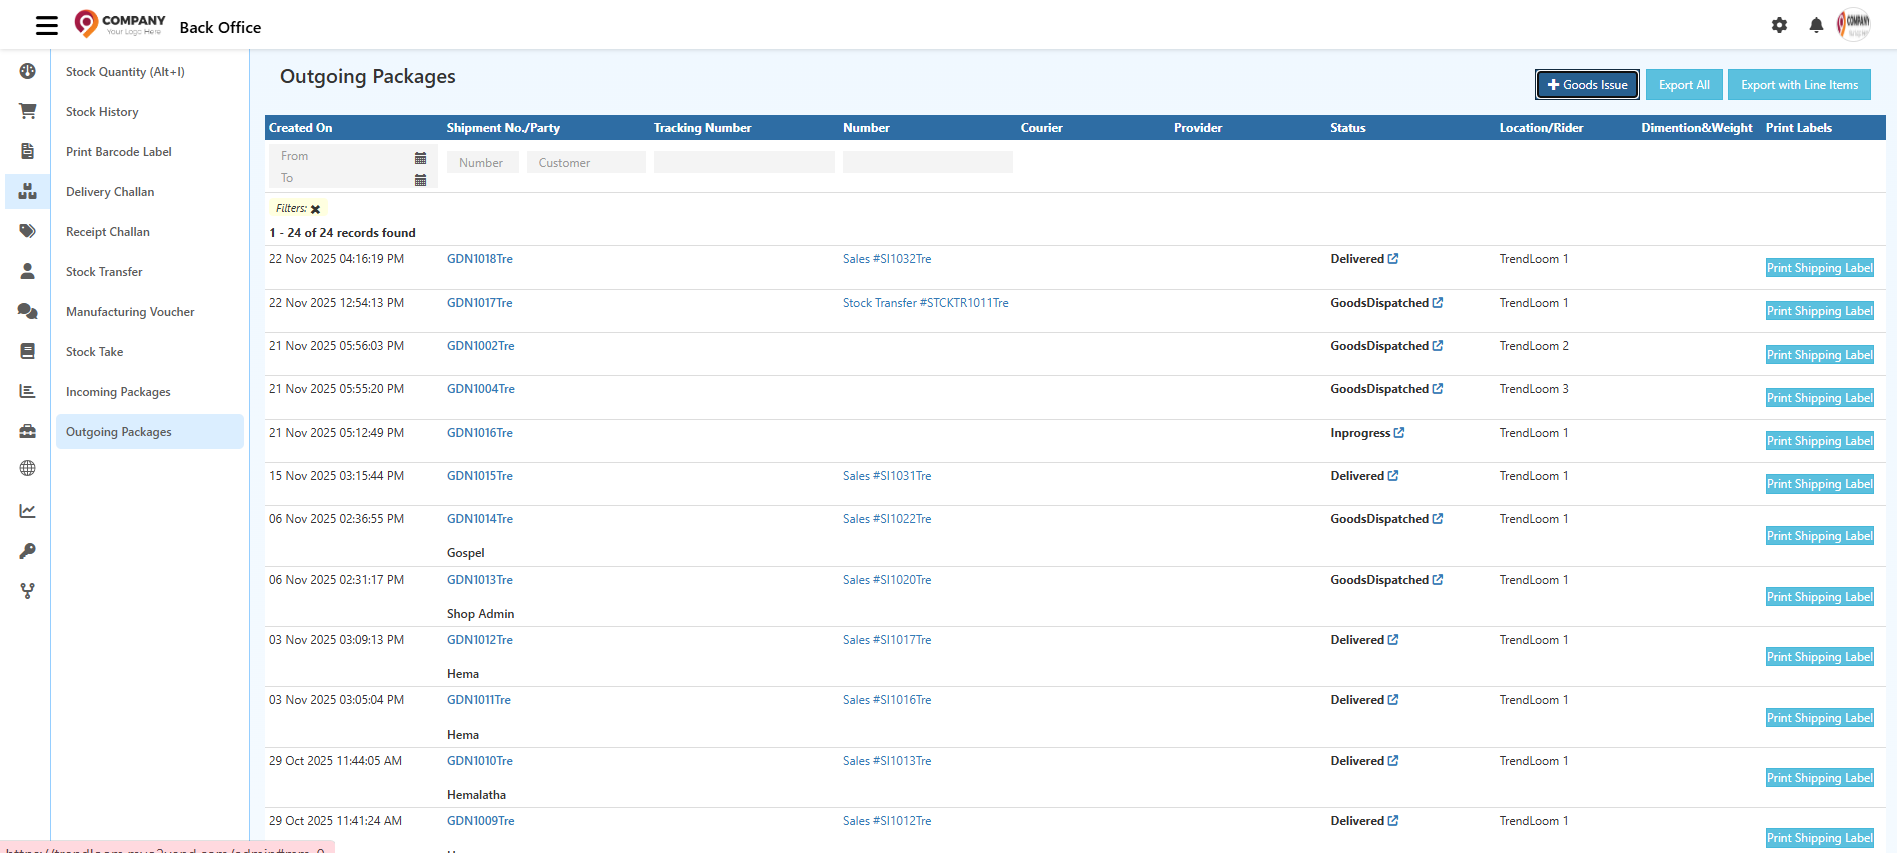
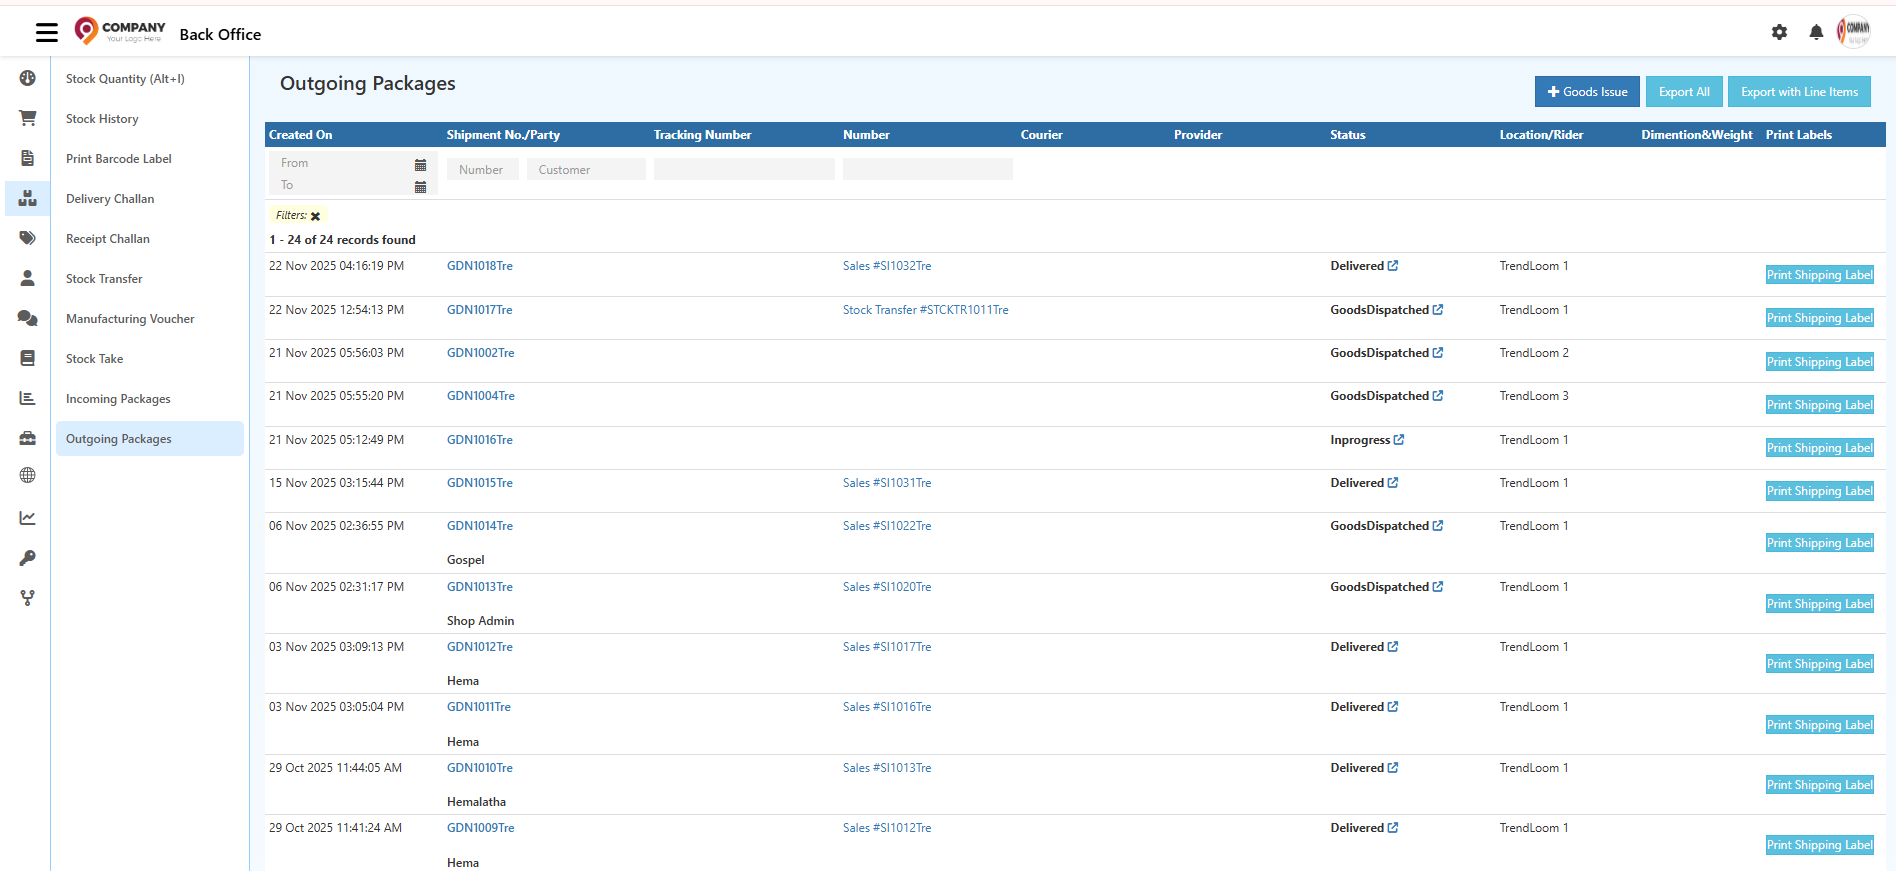
Step 1 — Open Goods Dispatched Screen
Navigate to Inventory → Goods Dispatched, or open directly from a Sales Order or Delivery Challan.
Step 2 — Enter Transportation Details
Add courier name, rider, tracking number or LR number, and tracking URL if available.
Step 3 — Verify Order & Dispatch Location
Confirm source reference (Sales Order or Delivery Challan), dispatch warehouse or branch, and sub-location.
Step 4 — Choose Item Entry Mode
Select Scan Mode for barcode scanning or Type Mode for manual product search.
Step 5 — Review & Enter Dispatch Quantities
Verify product name, SKU, and ordered quantity. Enter final dispatch quantity — supports full and partial dispatch.
Step 6 — Assign Units & Sub-Locations
Confirm unit type (Box, Piece, Carton, etc.) and sub-location for each item.
Step 7 — Add Package Details
Enter package dimensions, weight, and number of packages.
Step 8 — Bulk Entry (Optional)
Upload product dispatch details via Excel for large orders.
Step 9 — Review & Save
Verify all details — courier, tracking number, quantities, and dispatch location — before saving.
After Saving the GDN
- Inventory stock reduces in real time
- GDN status changes to Dispatched
- Delivery logs recorded in the system
- Audit trail maintained for all outbound movements