Customer Groups
Customer Groups in O2VEND help you organize customers into meaningful segments such as premium customers, retail customers, wholesale buyers, or location-based groups. These groups can then be used for pricing, offers, communication, and customer management.
Navigation Path
Back Office -> Parties -> Customer Group
Access Customer Groups
- Login to the Back Office
- Open Parties
- Click Customer Group
This opens the Customer Groups list screen where you can view and manage all available customer groups.
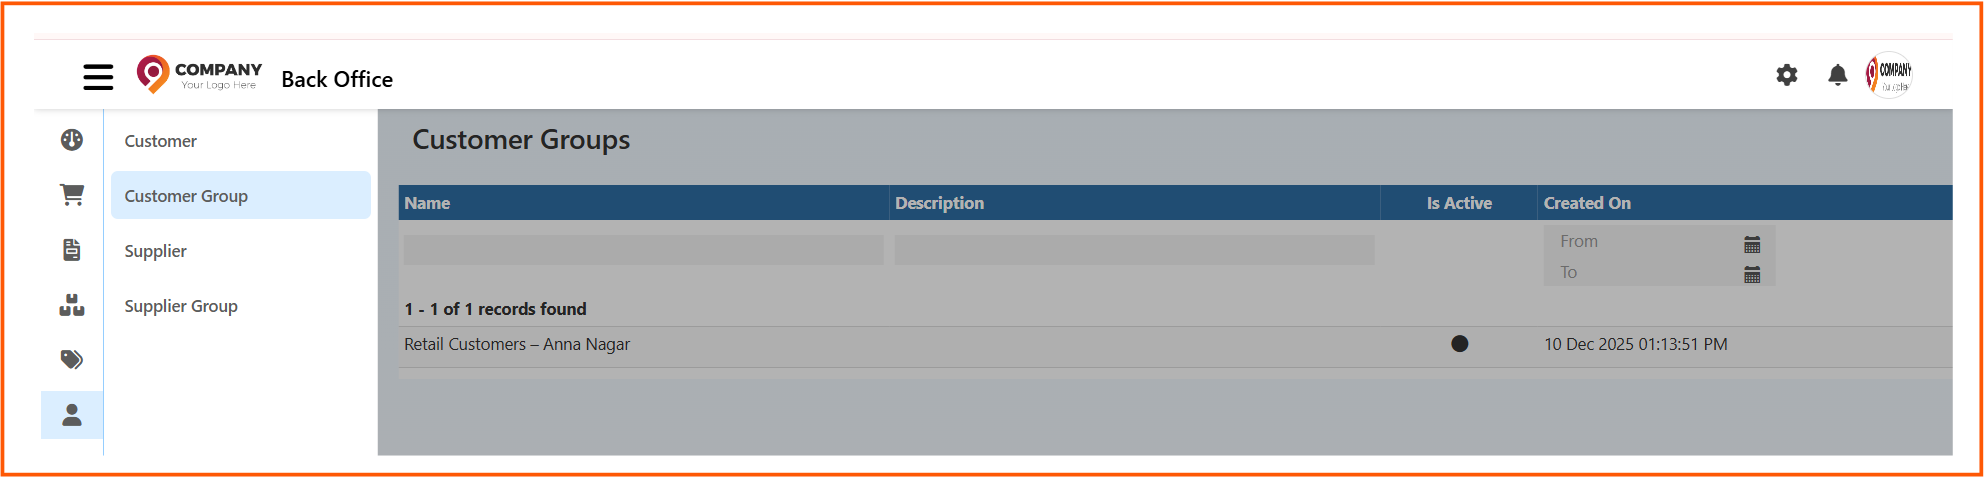
Customer Groups List Screen
The Customer Groups page displays all created customer groups in one place.
Fields in the List Screen
Name
Shows the name of the customer group.
Example:
Retail Customers – Anna Nagar
Description
Shows the description of the customer group.
This helps identify the purpose of the group.
Is Active
Shows whether the customer group is currently active.
- active groups can be used in the system
- inactive groups remain saved but may not be available for selection
Created On
Shows the date and time when the customer group was created.
You can also use the date filter to search customer groups by creation period.
How to Create a Customer Group
- Go to Back Office -> Parties -> Customer Group
- Open the create customer group screen
- Enter the Name
- Add the Description
- Select the required Price List
- Set Active status
- Click Save
Create Customer Group
When you create a new customer group, you can define the group name, purpose, linked price list, and active status.
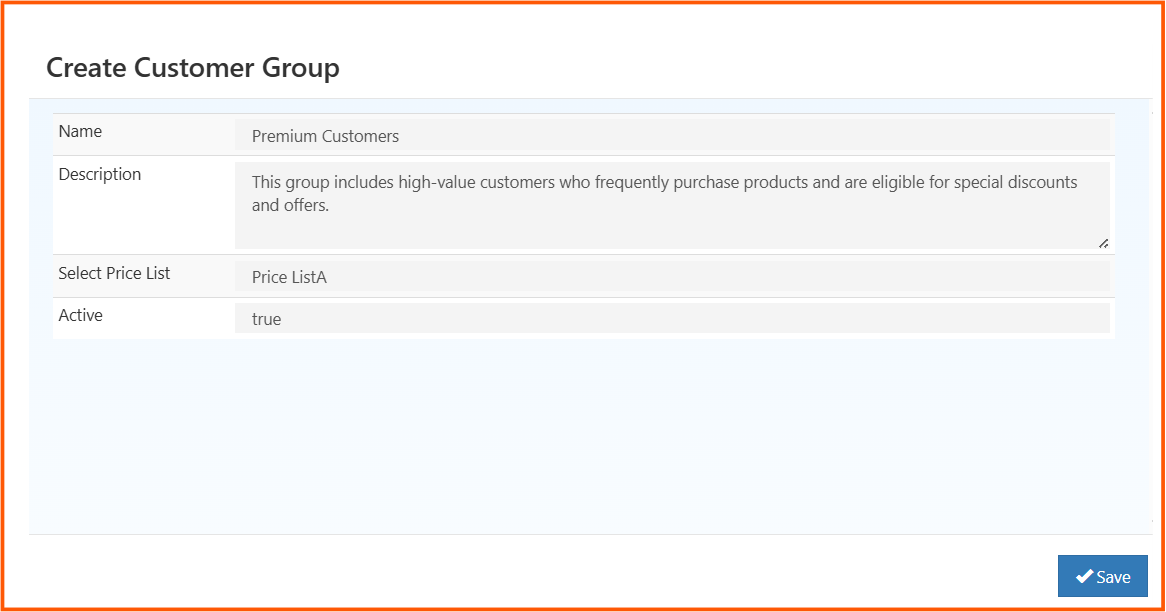
Create Customer Group Fields
Each field in the Create Customer Group screen has a specific purpose.
Name
Enter the name of the customer group.
Example: Premium Customers
Use a clear name so the group can be identified easily when assigning customers.
Description
Enter a short explanation about the customer group.
Example:
This group includes high-value customers who frequently purchase products and are eligible for special discounts and offers.
Use this field to describe who belongs to the group or what benefits apply to it.
Select Price List
Choose the price list that should apply to this customer group.
Example: Price ListA
This is useful when different groups should have different pricing rules.
Active
This controls whether the customer group is active.
true-> The customer group is active and can be usedfalse-> The customer group is saved but not active
Save
Click Save after entering all required details.
Why Customer Groups Are Useful
Customer Groups help you:
- organize customers based on business needs
- apply different pricing using price lists
- identify premium, retail, or special customer segments
- manage customers more clearly inside the system
Best Practices
- Use meaningful group names
- Add a clear description for each group
- assign the correct price list before saving
- keep only active groups enabled for real usage
- review groups regularly if pricing or customer strategy changes
Result
After saving, the new customer group appears in the Customer Groups list and can be used when managing customers, pricing, and related business rules.